Sealand Prusa MK3 Bear Kit
This is going to be a brief overview on my experience with a random Bear kit that I bought off AliExpress. It’s more of an overall impression rather than a full review. If you want to read my full review on the TriangleLabs MK3S Clone go here:TriangleLabs MK3S Review
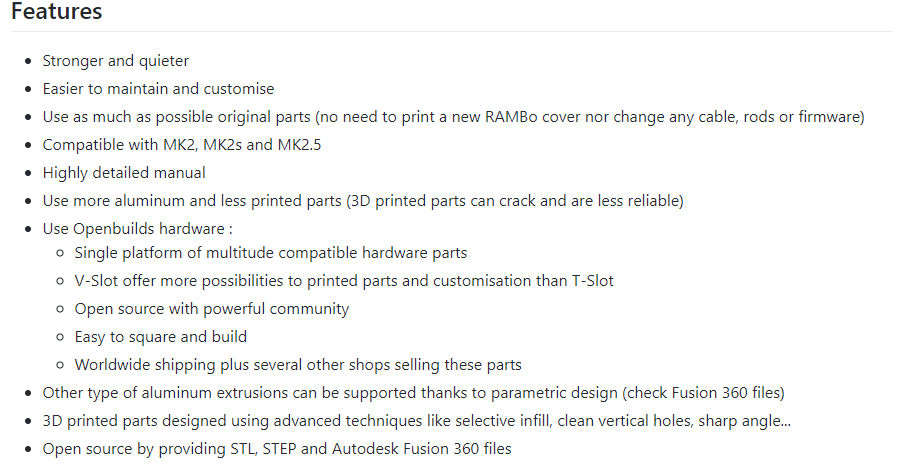
Recently after I bought the MK3S clone and had it up and running I saw someone post about how they had modified their Prusa MK3S with something called a Bear kit. I saw the pictures and immediately thought of the Ender 3. There’s something about aluminium extrusions that screen “rigid". As usually I did my reading on what the benefits were, who created it, and where I was able to pick up a kit. I eventually landed on the Thingiverse for the Bear and from there discovered their Github. There were two versions of the kit, one was a full kit where the entire frame was replaced with 2020 aluminium extrusions and the other was a half kit where you keep the original Prusa frame but replace the existing 3030 extrusions and the from and back plate with 2020 extrusions. I knew if I was going to take apart my MK3S, I might as well do it all at once so I decided to go with a full Bear kit. I’ve added a screen capture of the benefits that were showcased:
Bear Frame Features
Source: https://github.com/gregsaun/prusa_i3_bear_upgrade/tree/master/half_upgrade
Research
After deep diving into the Prusa i3 Bear Facebook group and just lurking for a while I was ready to pick up a kit of my own, the only problem was that during the time I was searching for a kit everyone was sold out and there were pretty long lead times. Once again I tried my hand at purchasing my own 2020 extrusions and tried to figure out if I could somehow get a friend to cut the extrusions to the desired lengths. While searching for the cheapest place to buy extrusions I went to visit an all too familiar site: Aliexpress. Sure enough there were lots of sellers willing to cut the pieces to the correct length, but out of curiosity I typed in “Bear kit prusa” in the search field and to my surprise there were a multitude of results. I clicked on the first item that appeared in the results. I quickly scrolled passed the description to the Customer Reviews and noticed that it had pretty high ratings from people from different users. The next thing I did was contact the store to gauge there response time and how helpful they were, this is something I do often when buying big ticket items off AliExpress, something I’ve also learned is to ask for QC(Quality Control) pictures if they can take any. That was a tip I picked up from some friends who usually make big purchases from places like DHGate or Taobao. Sealand Full Bear Kit
Purchase and Assembly
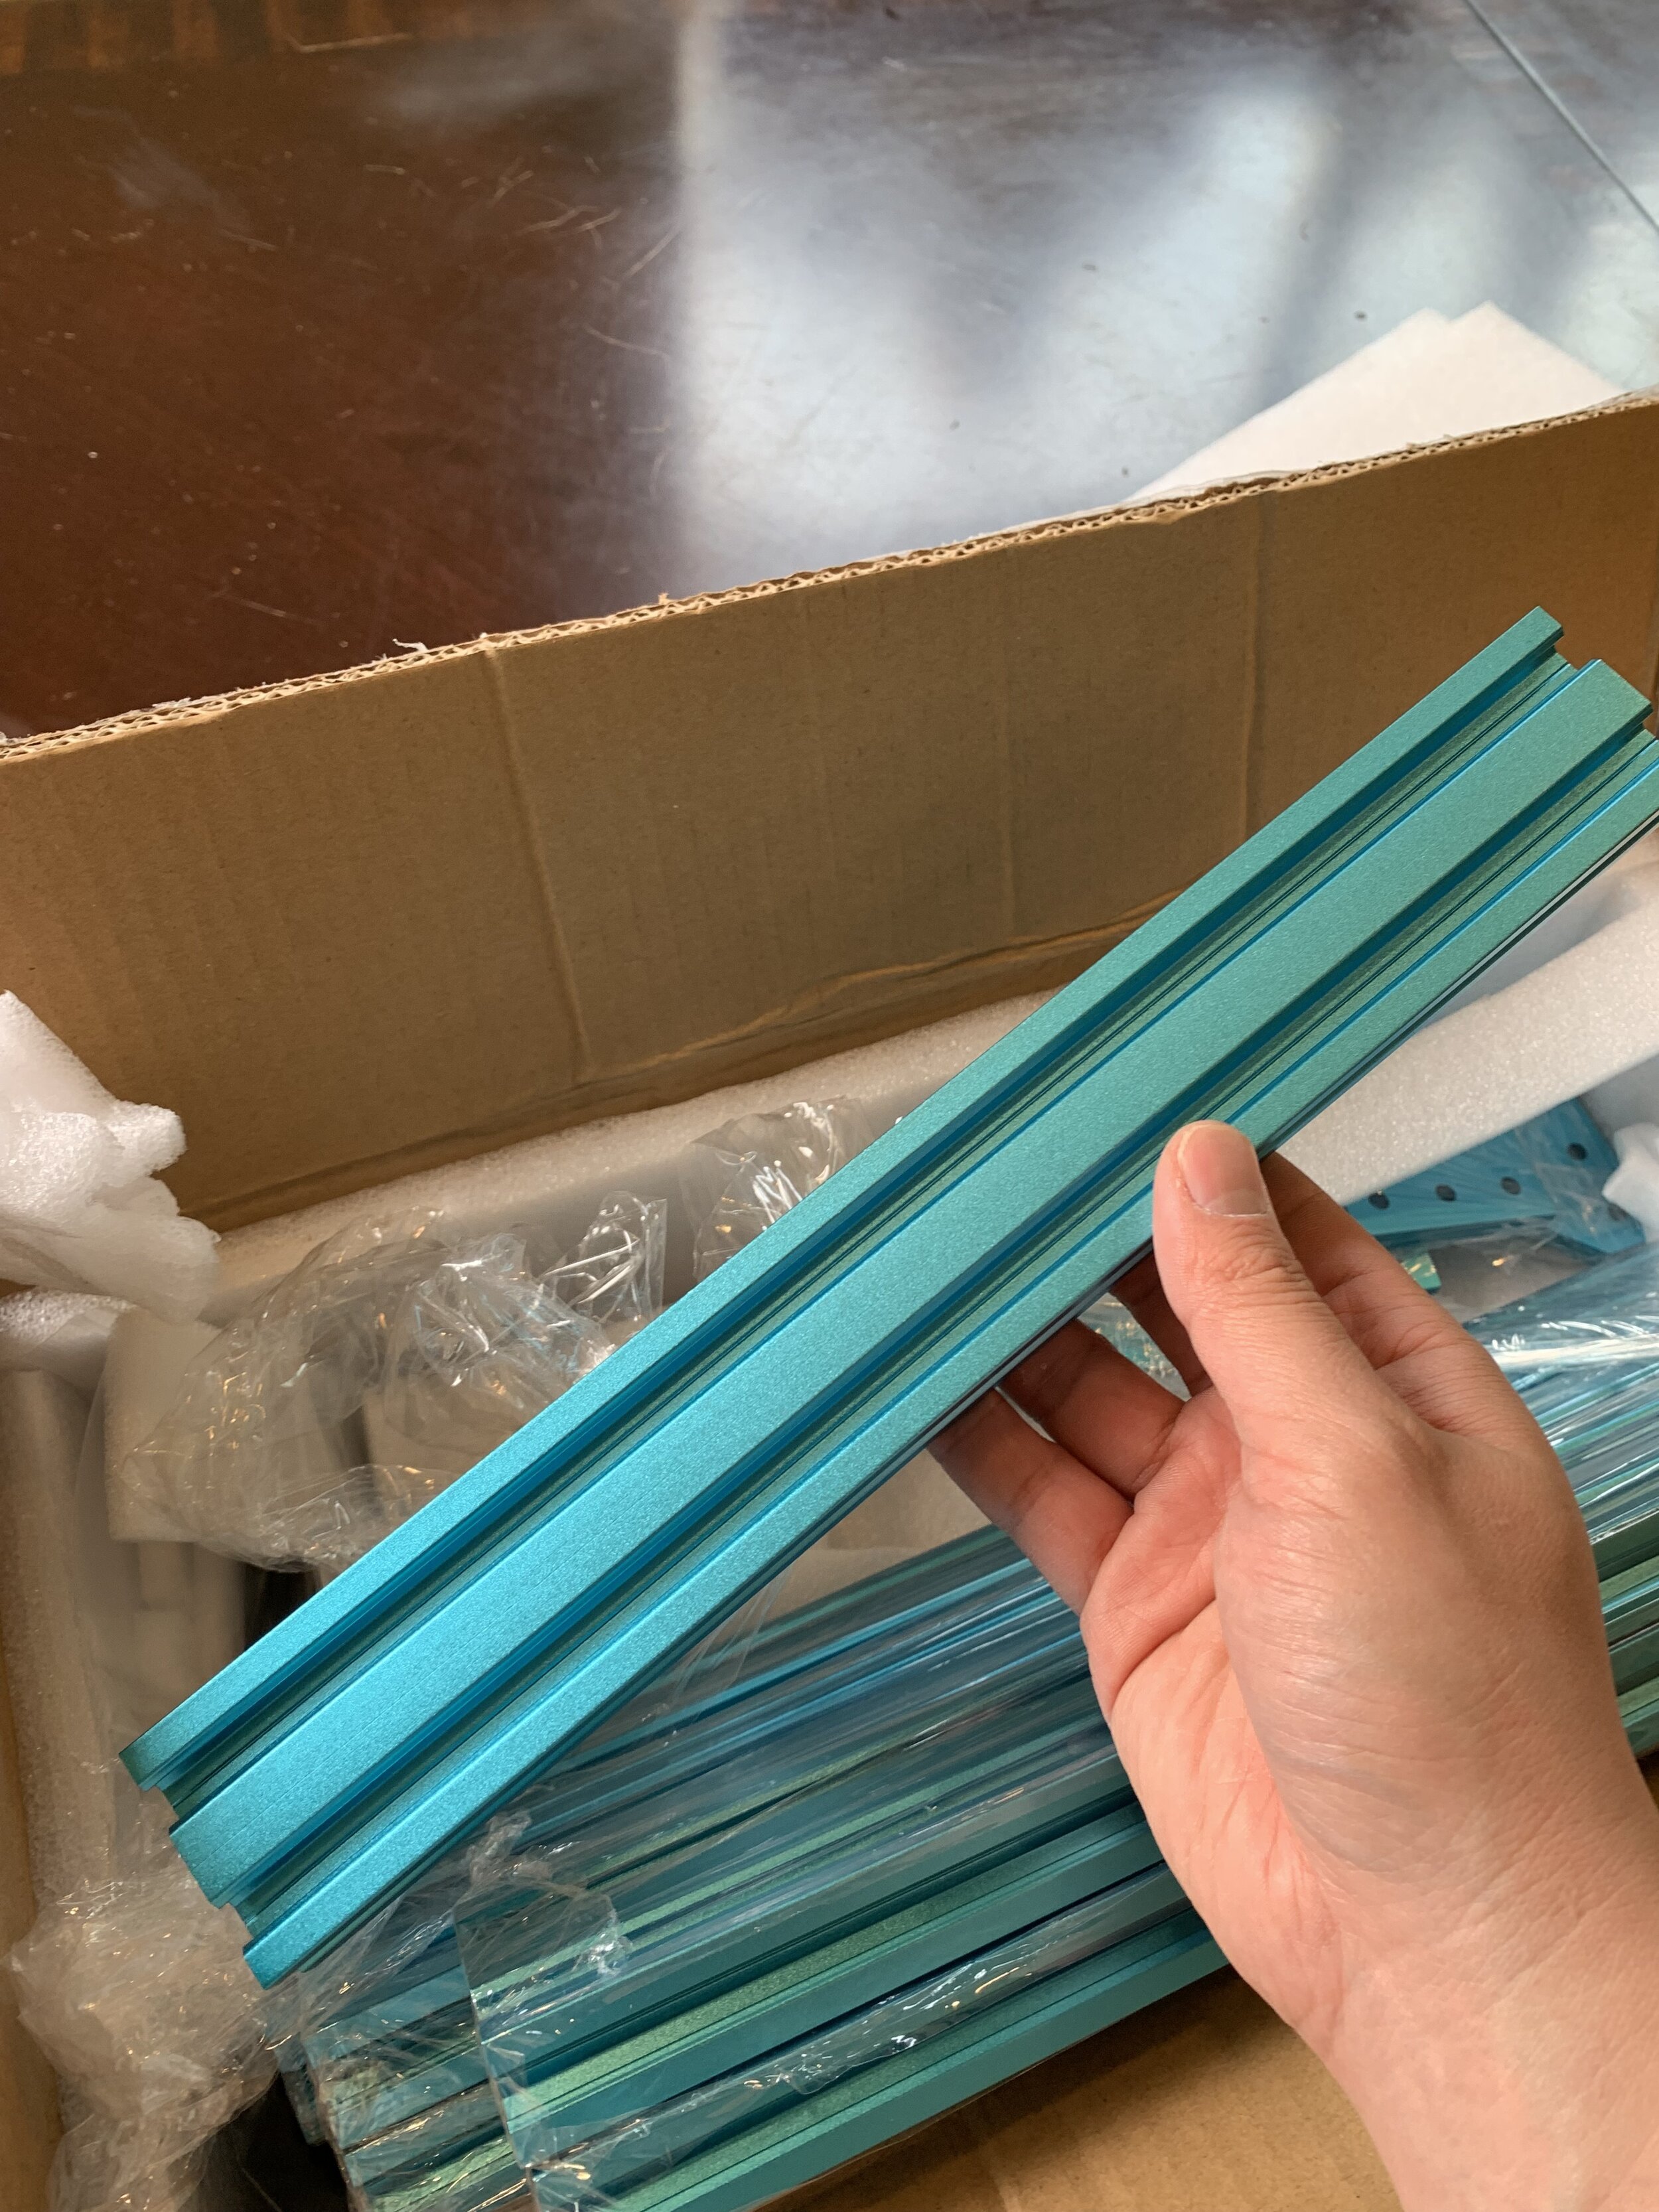
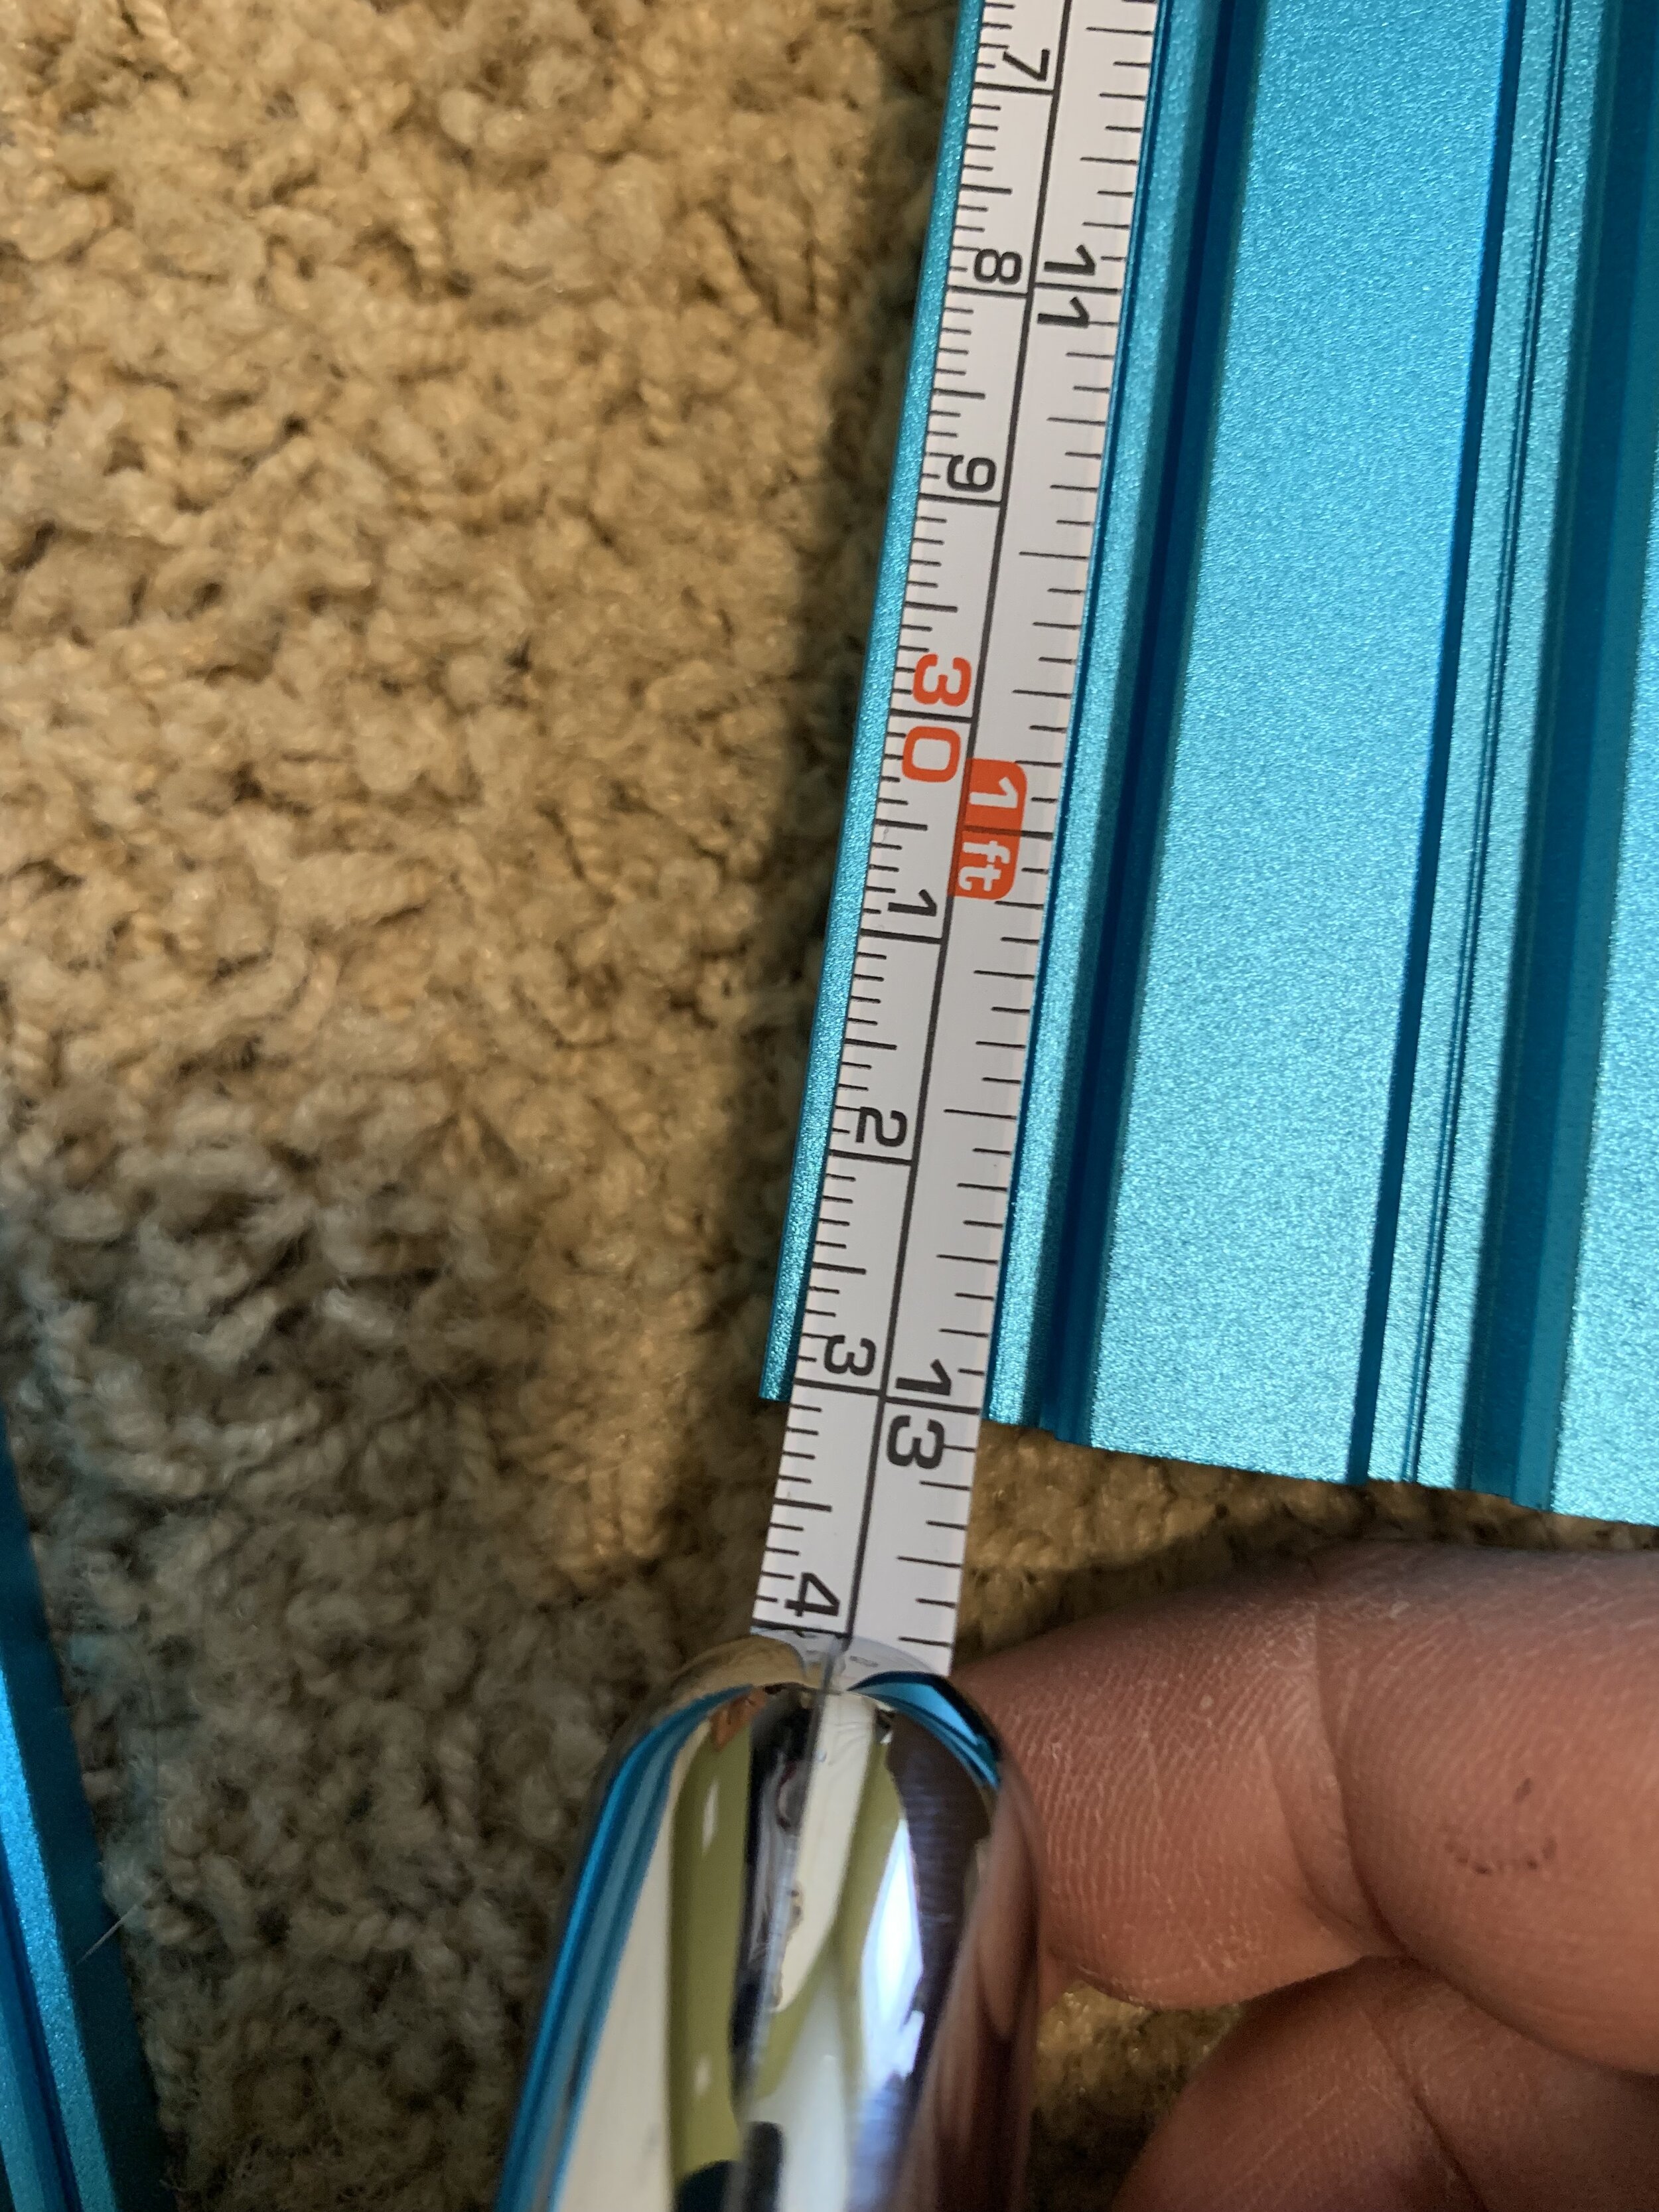
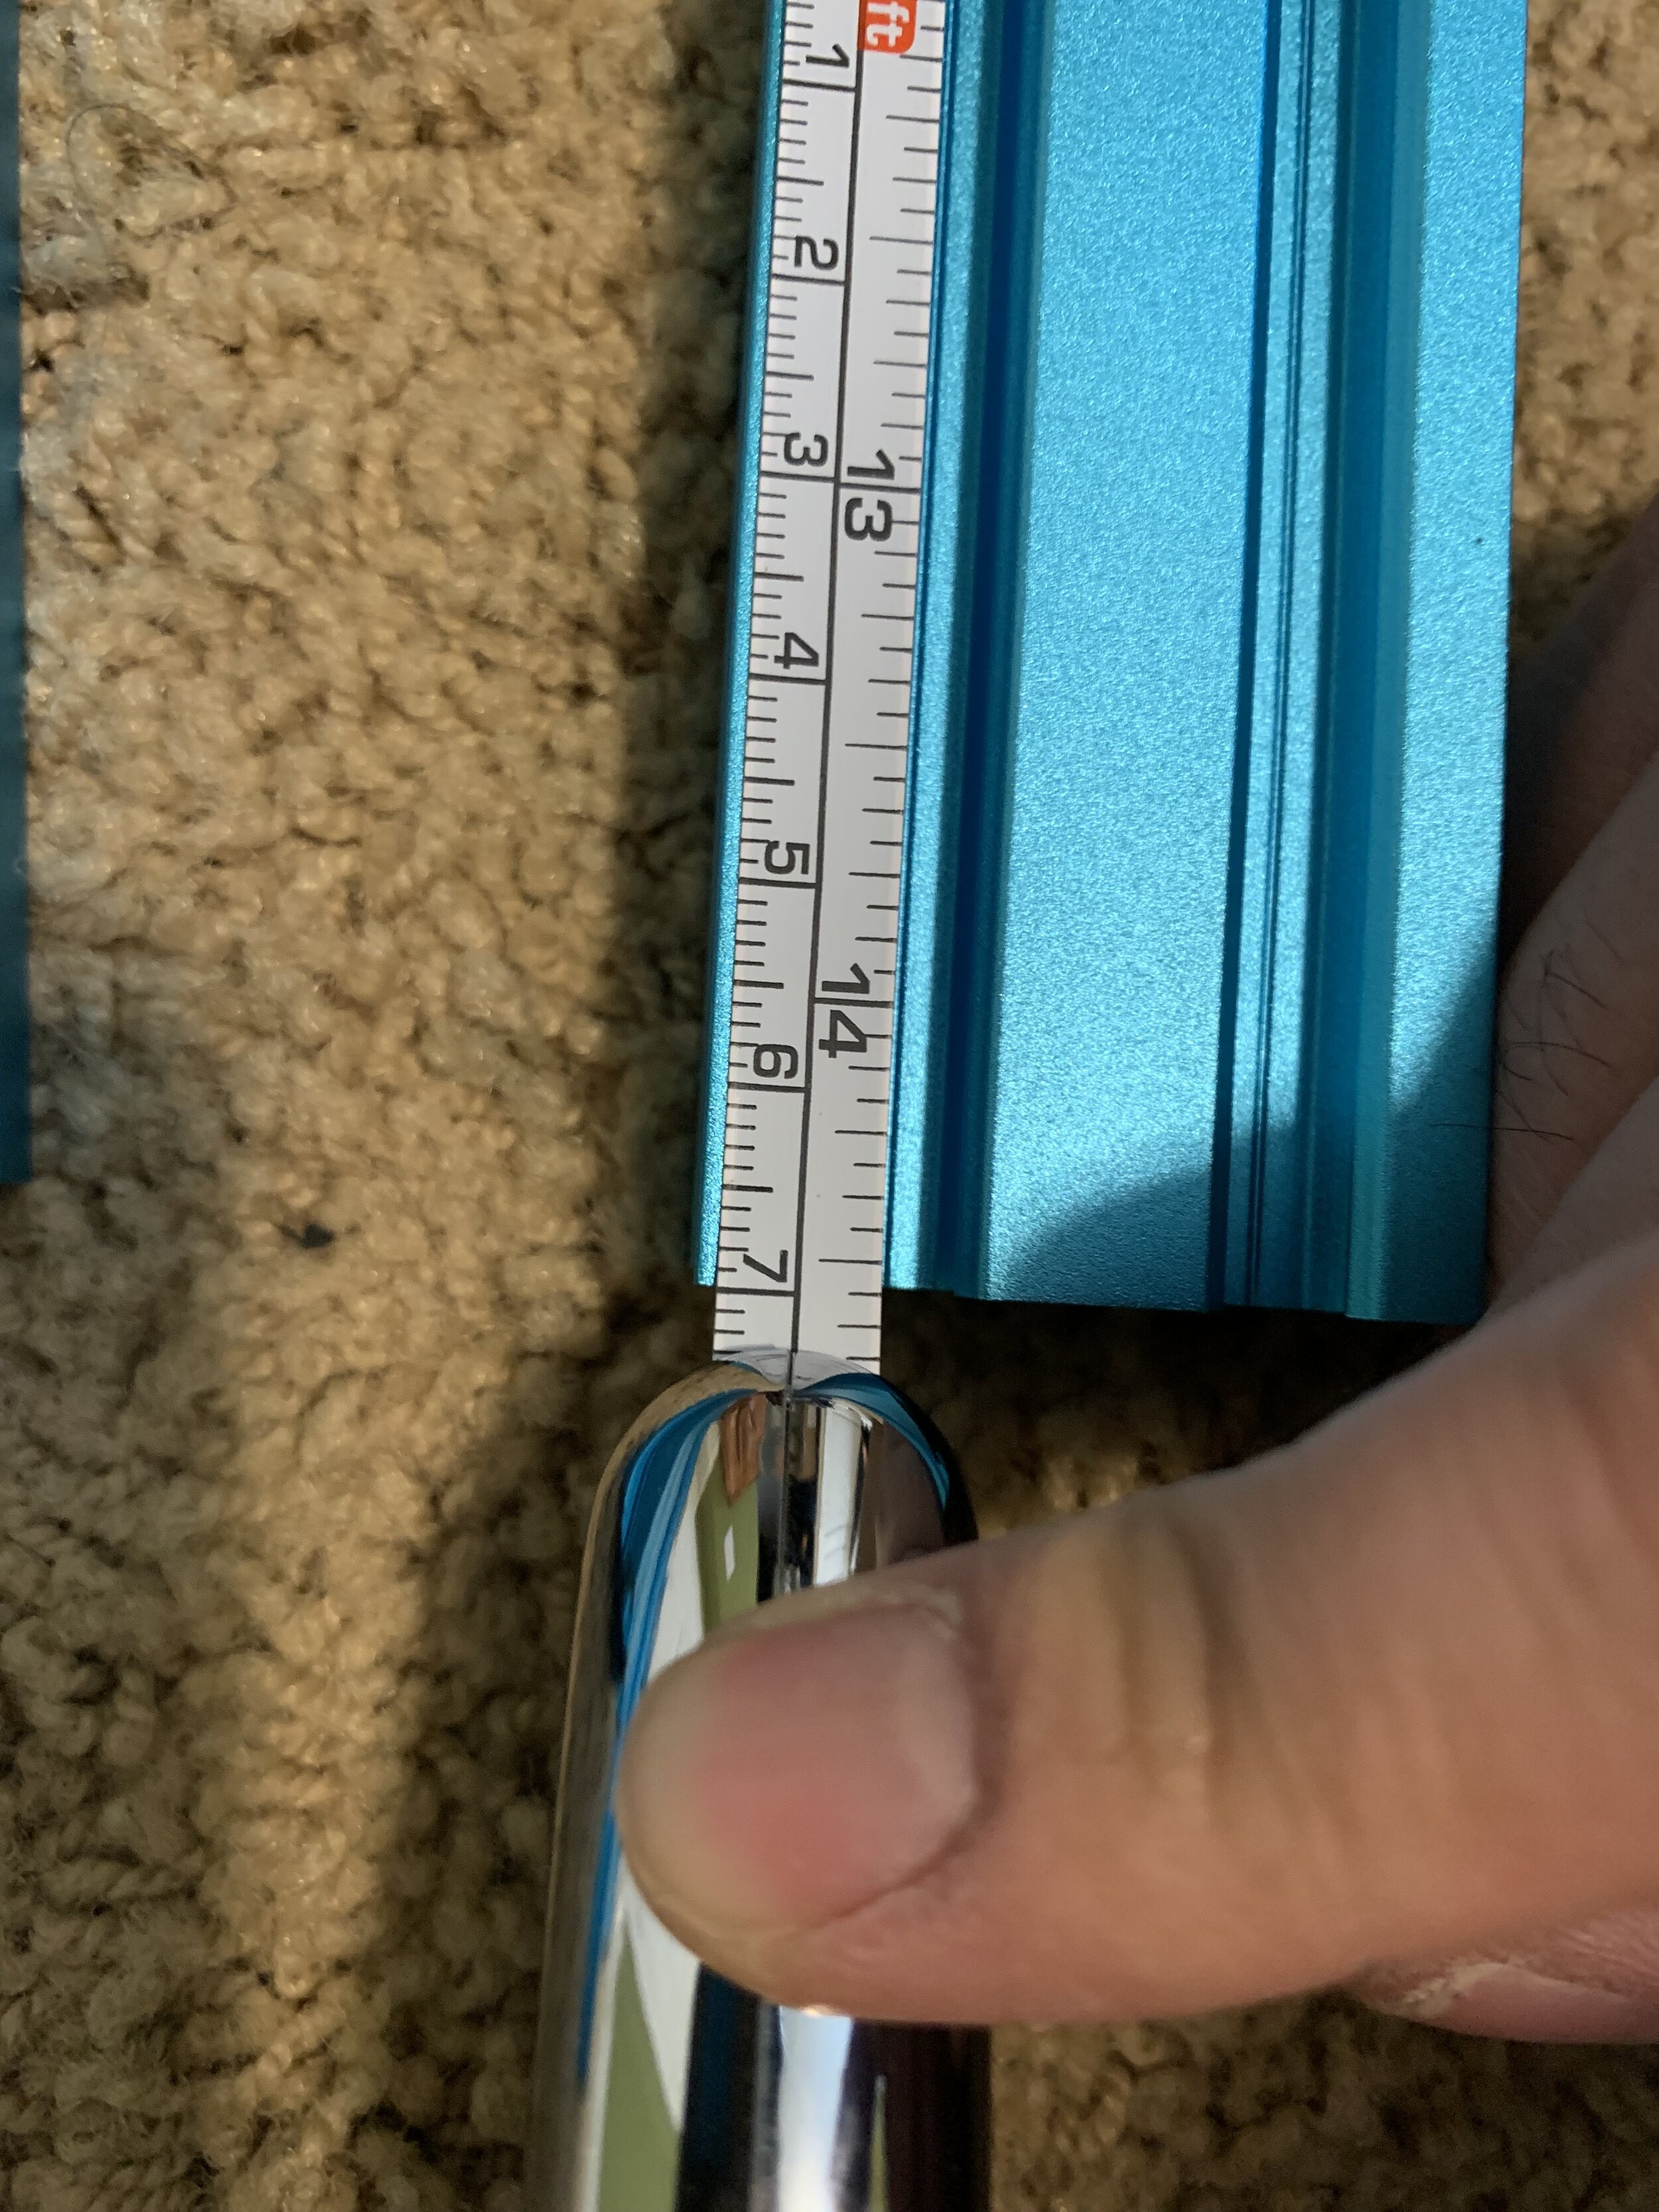
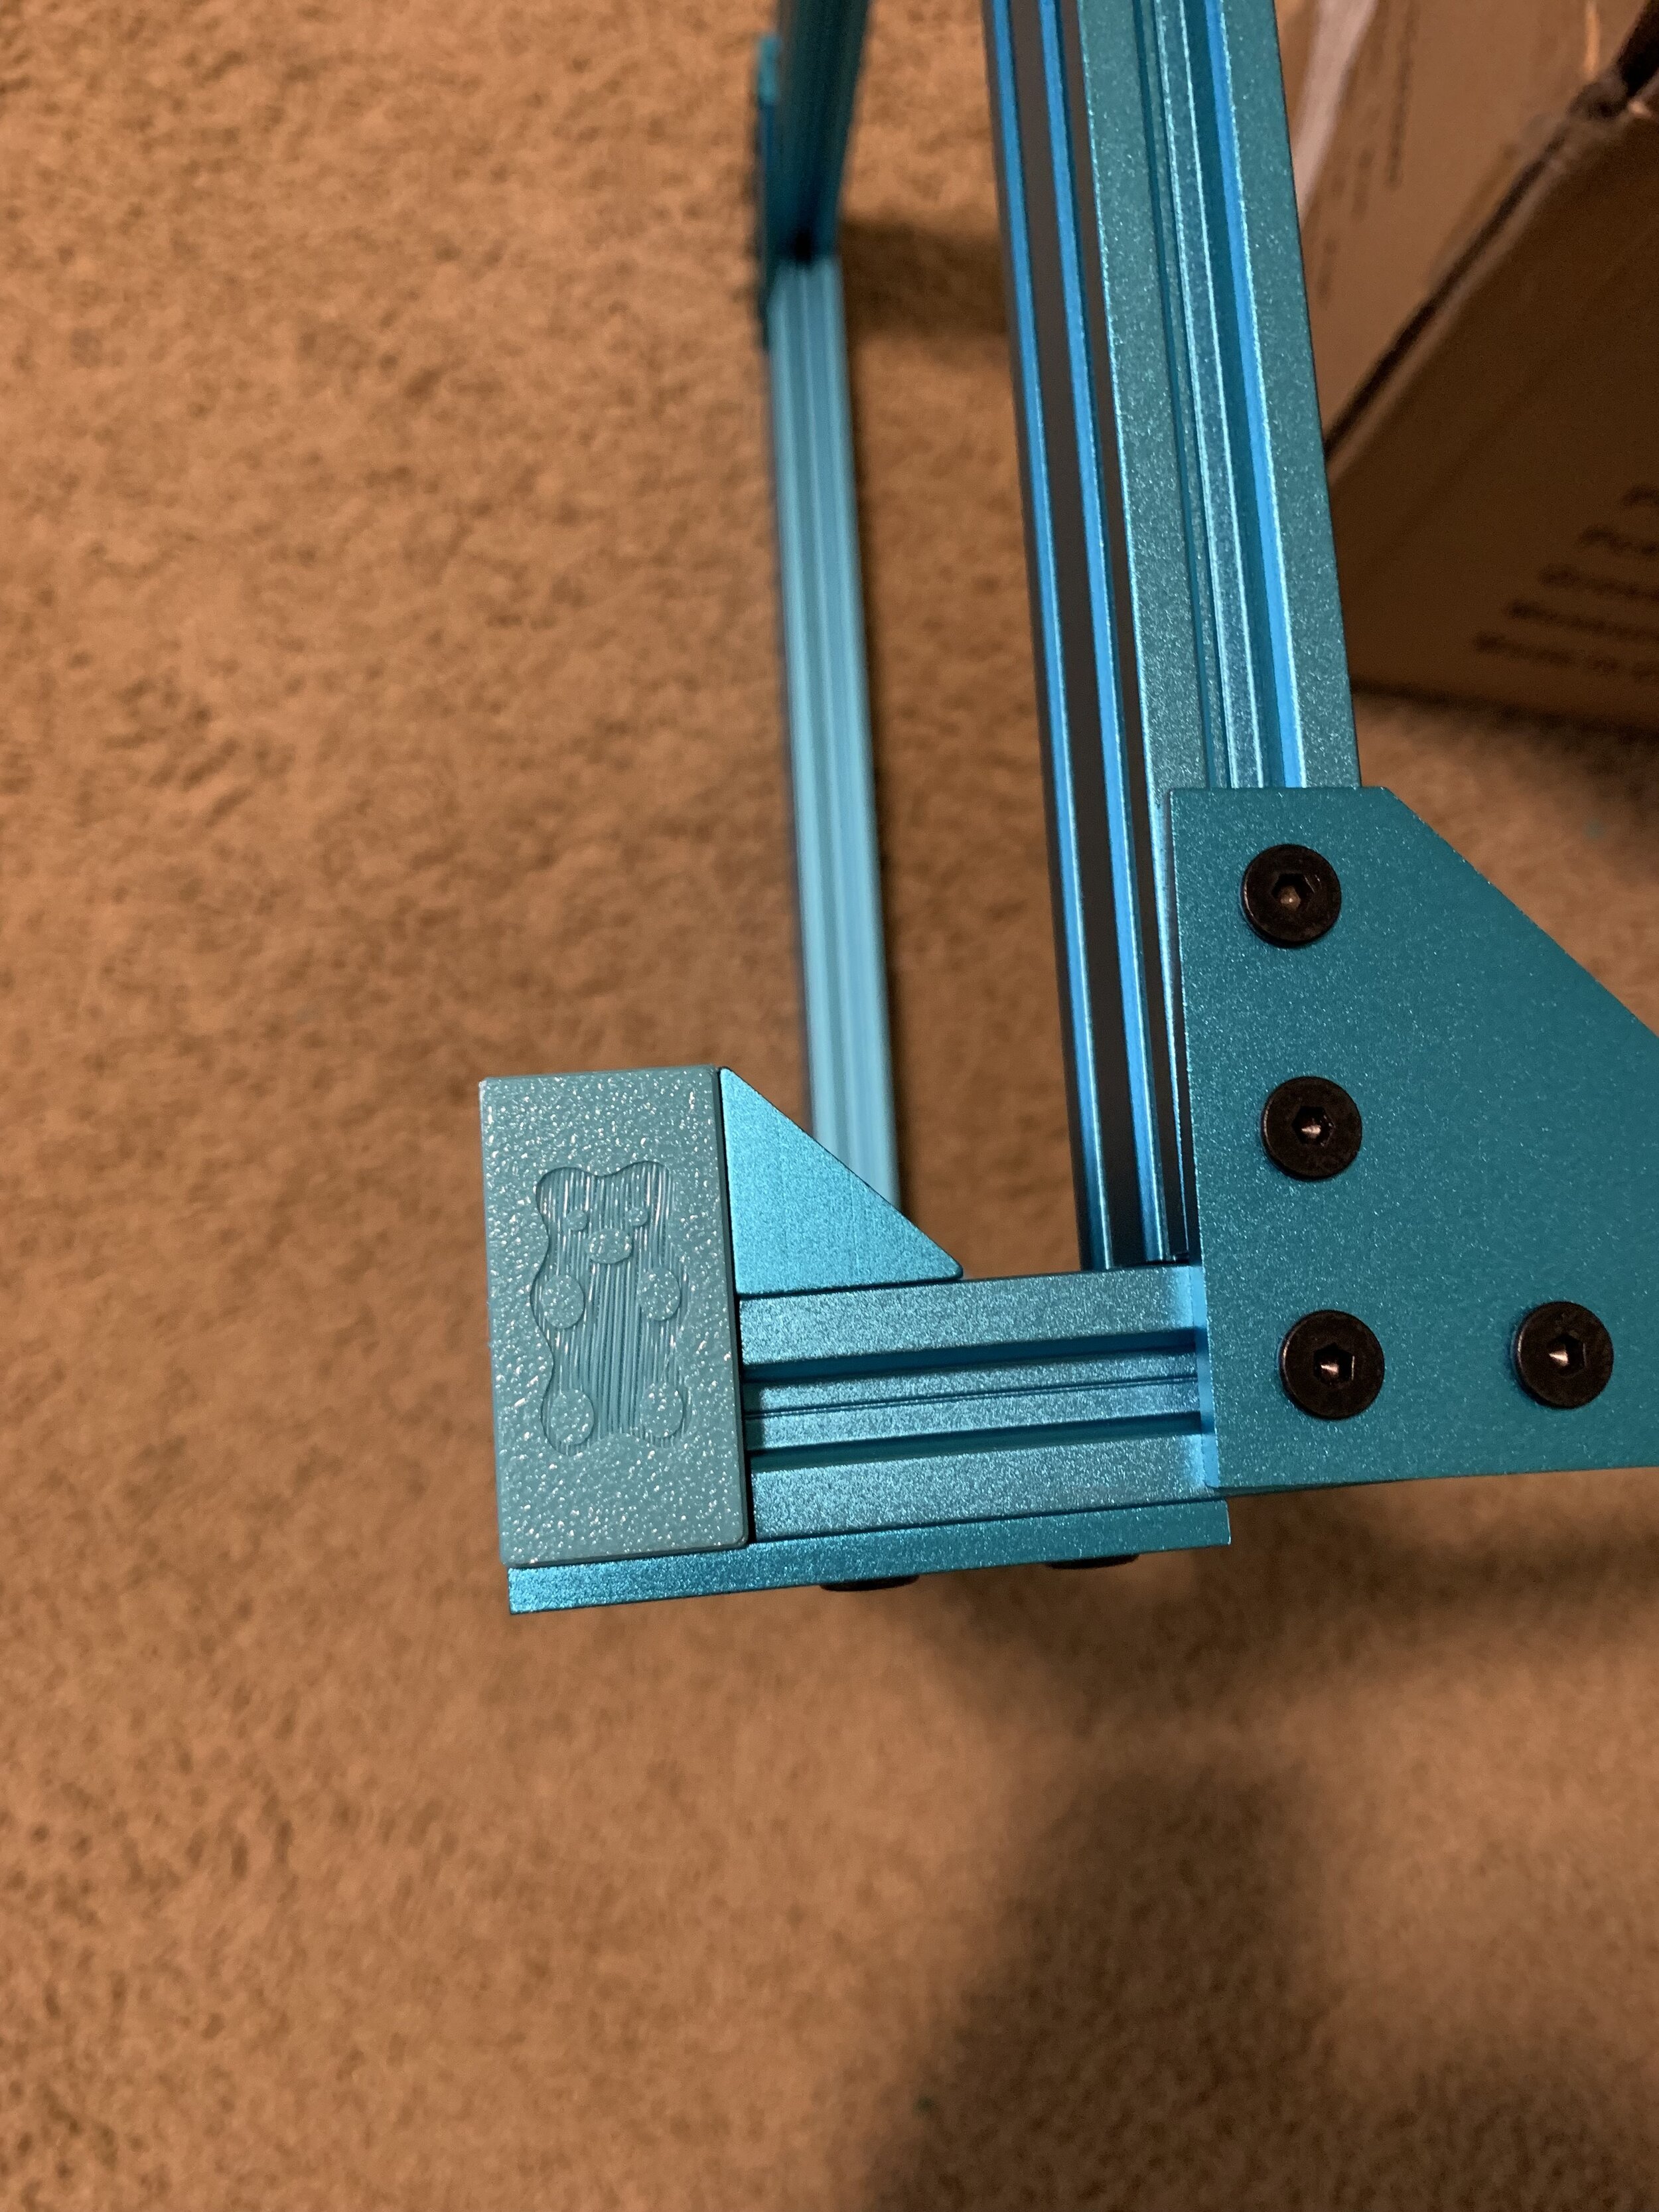
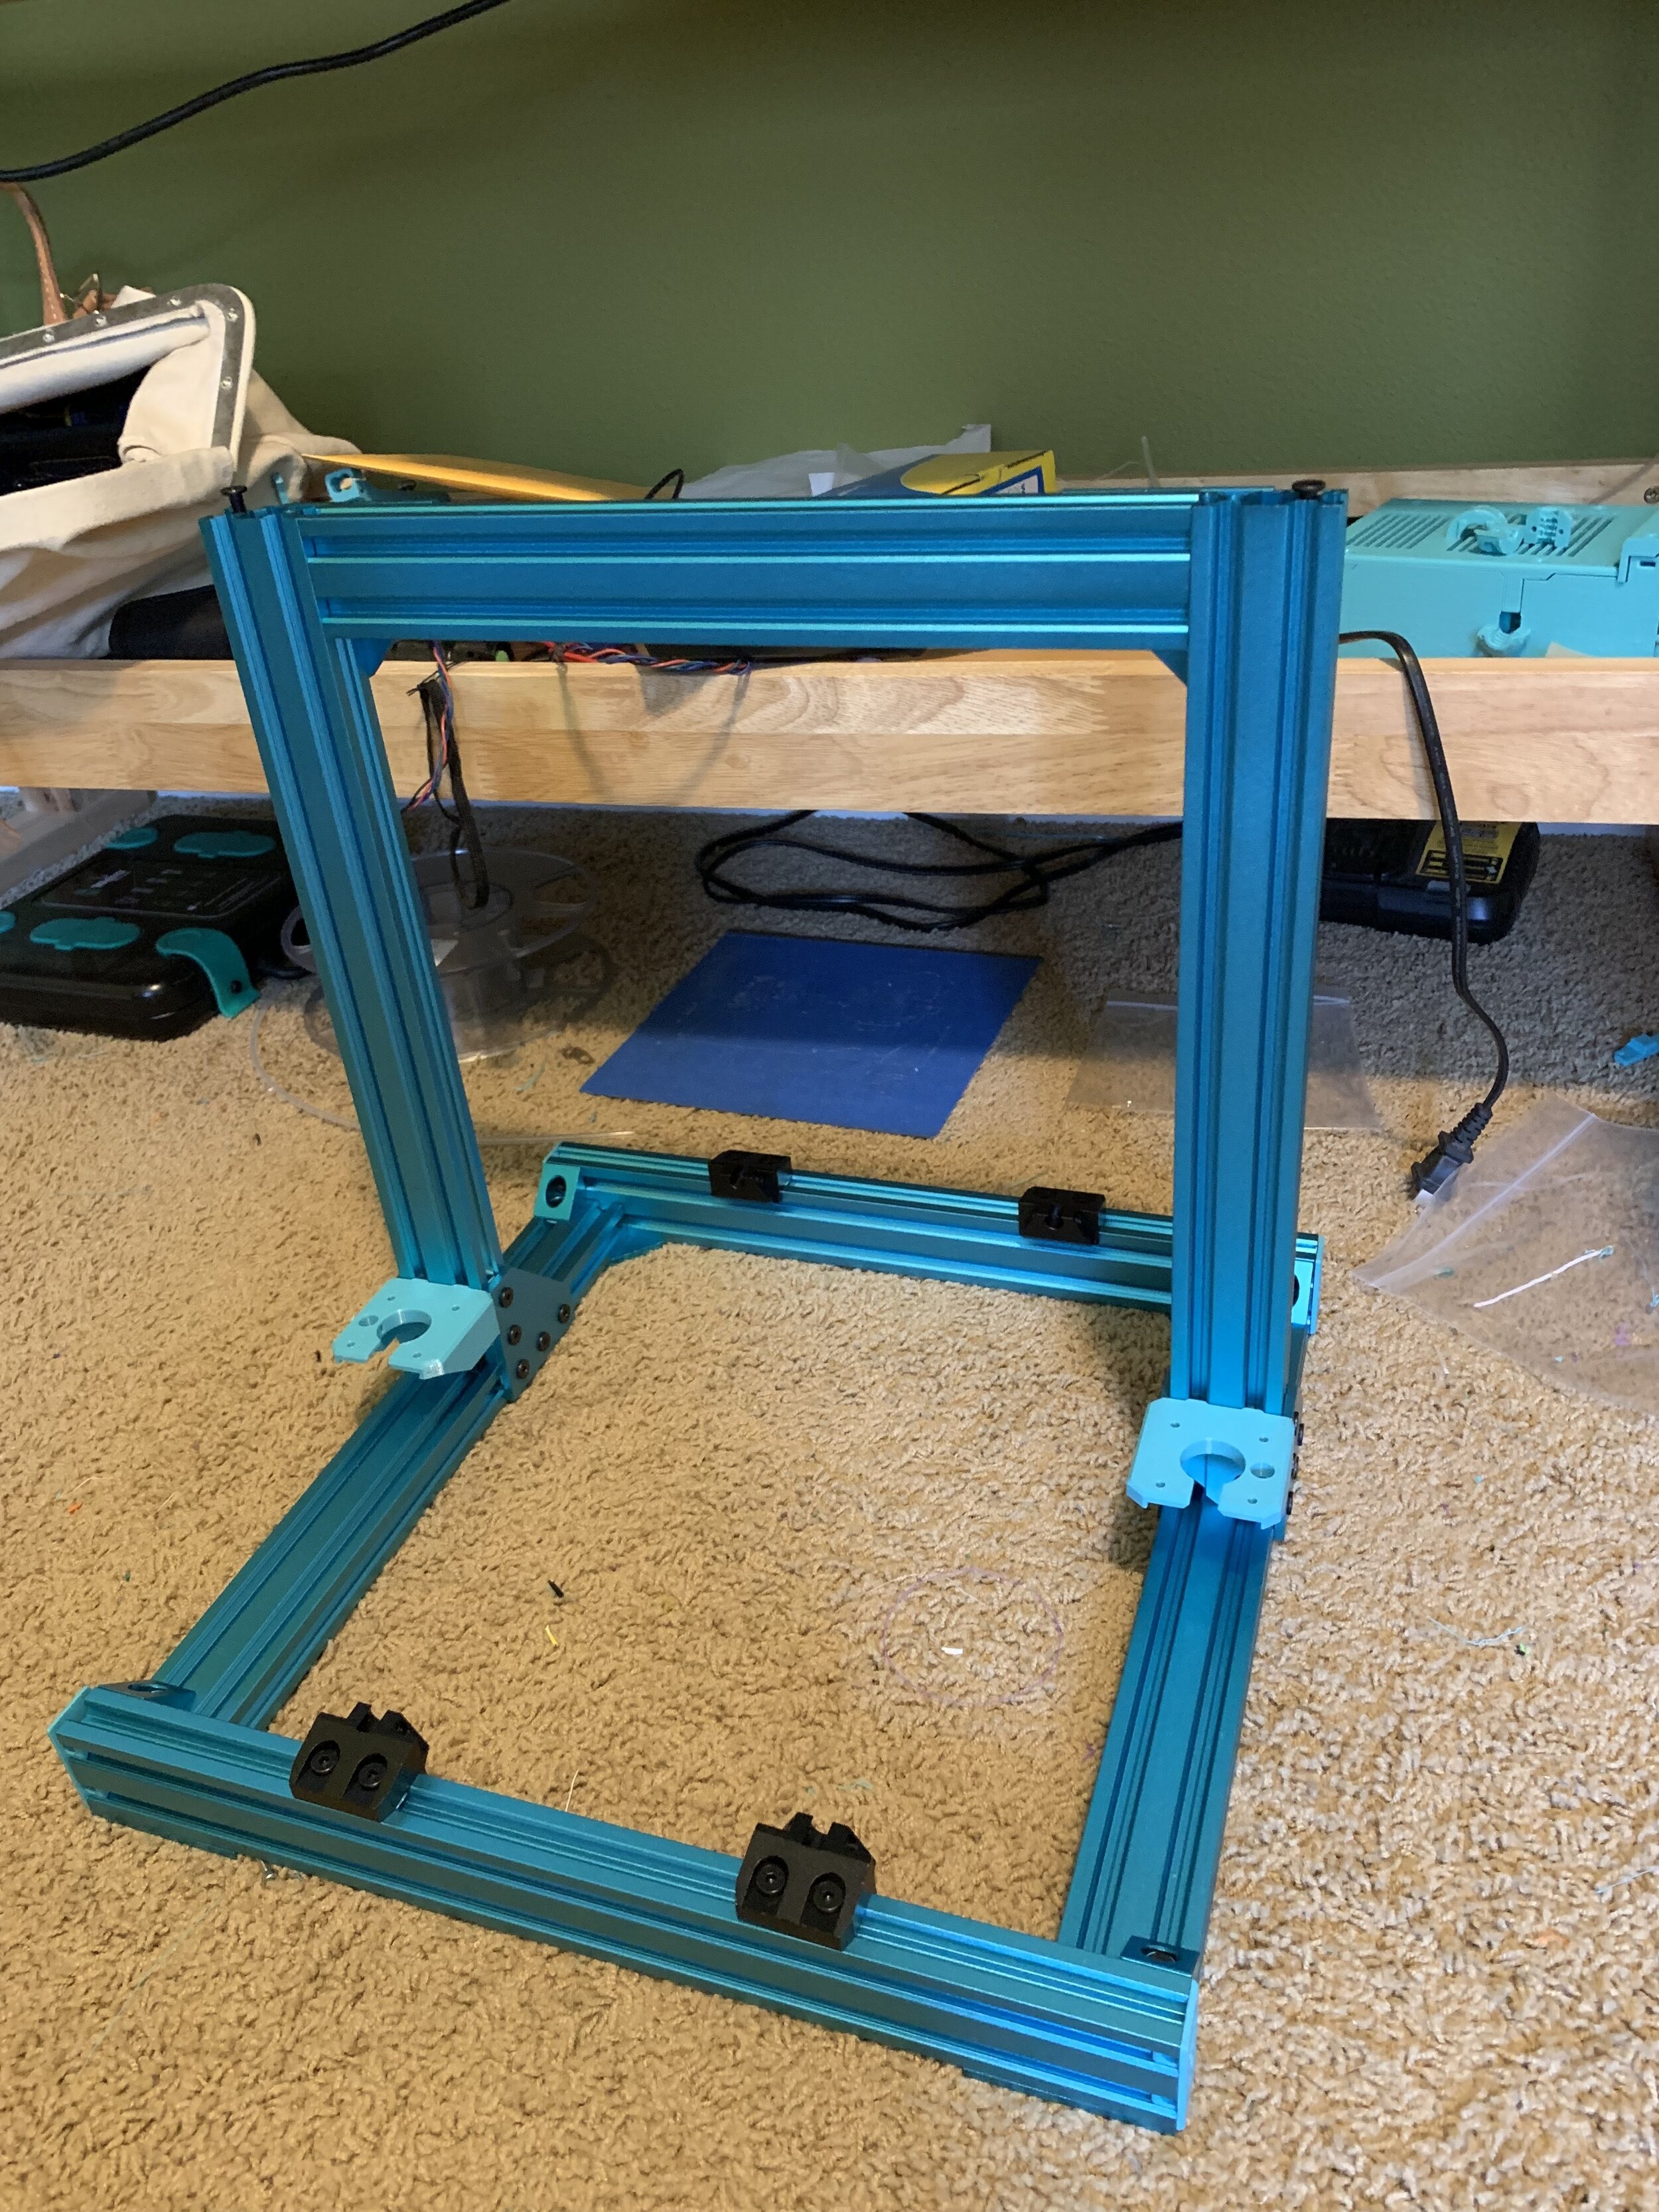
The seller was responsive and even decided to give me a discount so I was more than glad to buy from them. I chose the blue extrusions, I was excited that all the parts were anodized in the same color as this was something that the kits being sold buy official sellers were not doing yet at the time of my purchase. My biggest concern about buying this was the fear of inaccurate dimensions and poorly cut extrusions that may have burr on them. While I waited the usual 2 weeks that it takes shipping from China to the states I printed all the new Bear kit STLs that I needed, bought myself a really nice machinist square from Amazon to be able to be sure that the frame was completely squared and not skewed. When I finally received the box it was in really good condition. I opened it up and saw all of the extrusions individually wrapped in plastic and cushioned with foam to keep them from bouncing around inside the box. I was impressed with the packaging and again felt like I made a good decision going with this seller. Once i unwrapped all the extrusions and verified all the pieces were there, I measured every single piece to make sure they were correct down to the millimeter. Sure enough, each piece was the exact length that it needed to be. I proceeded to putting everything together, closely following the guide on Github.
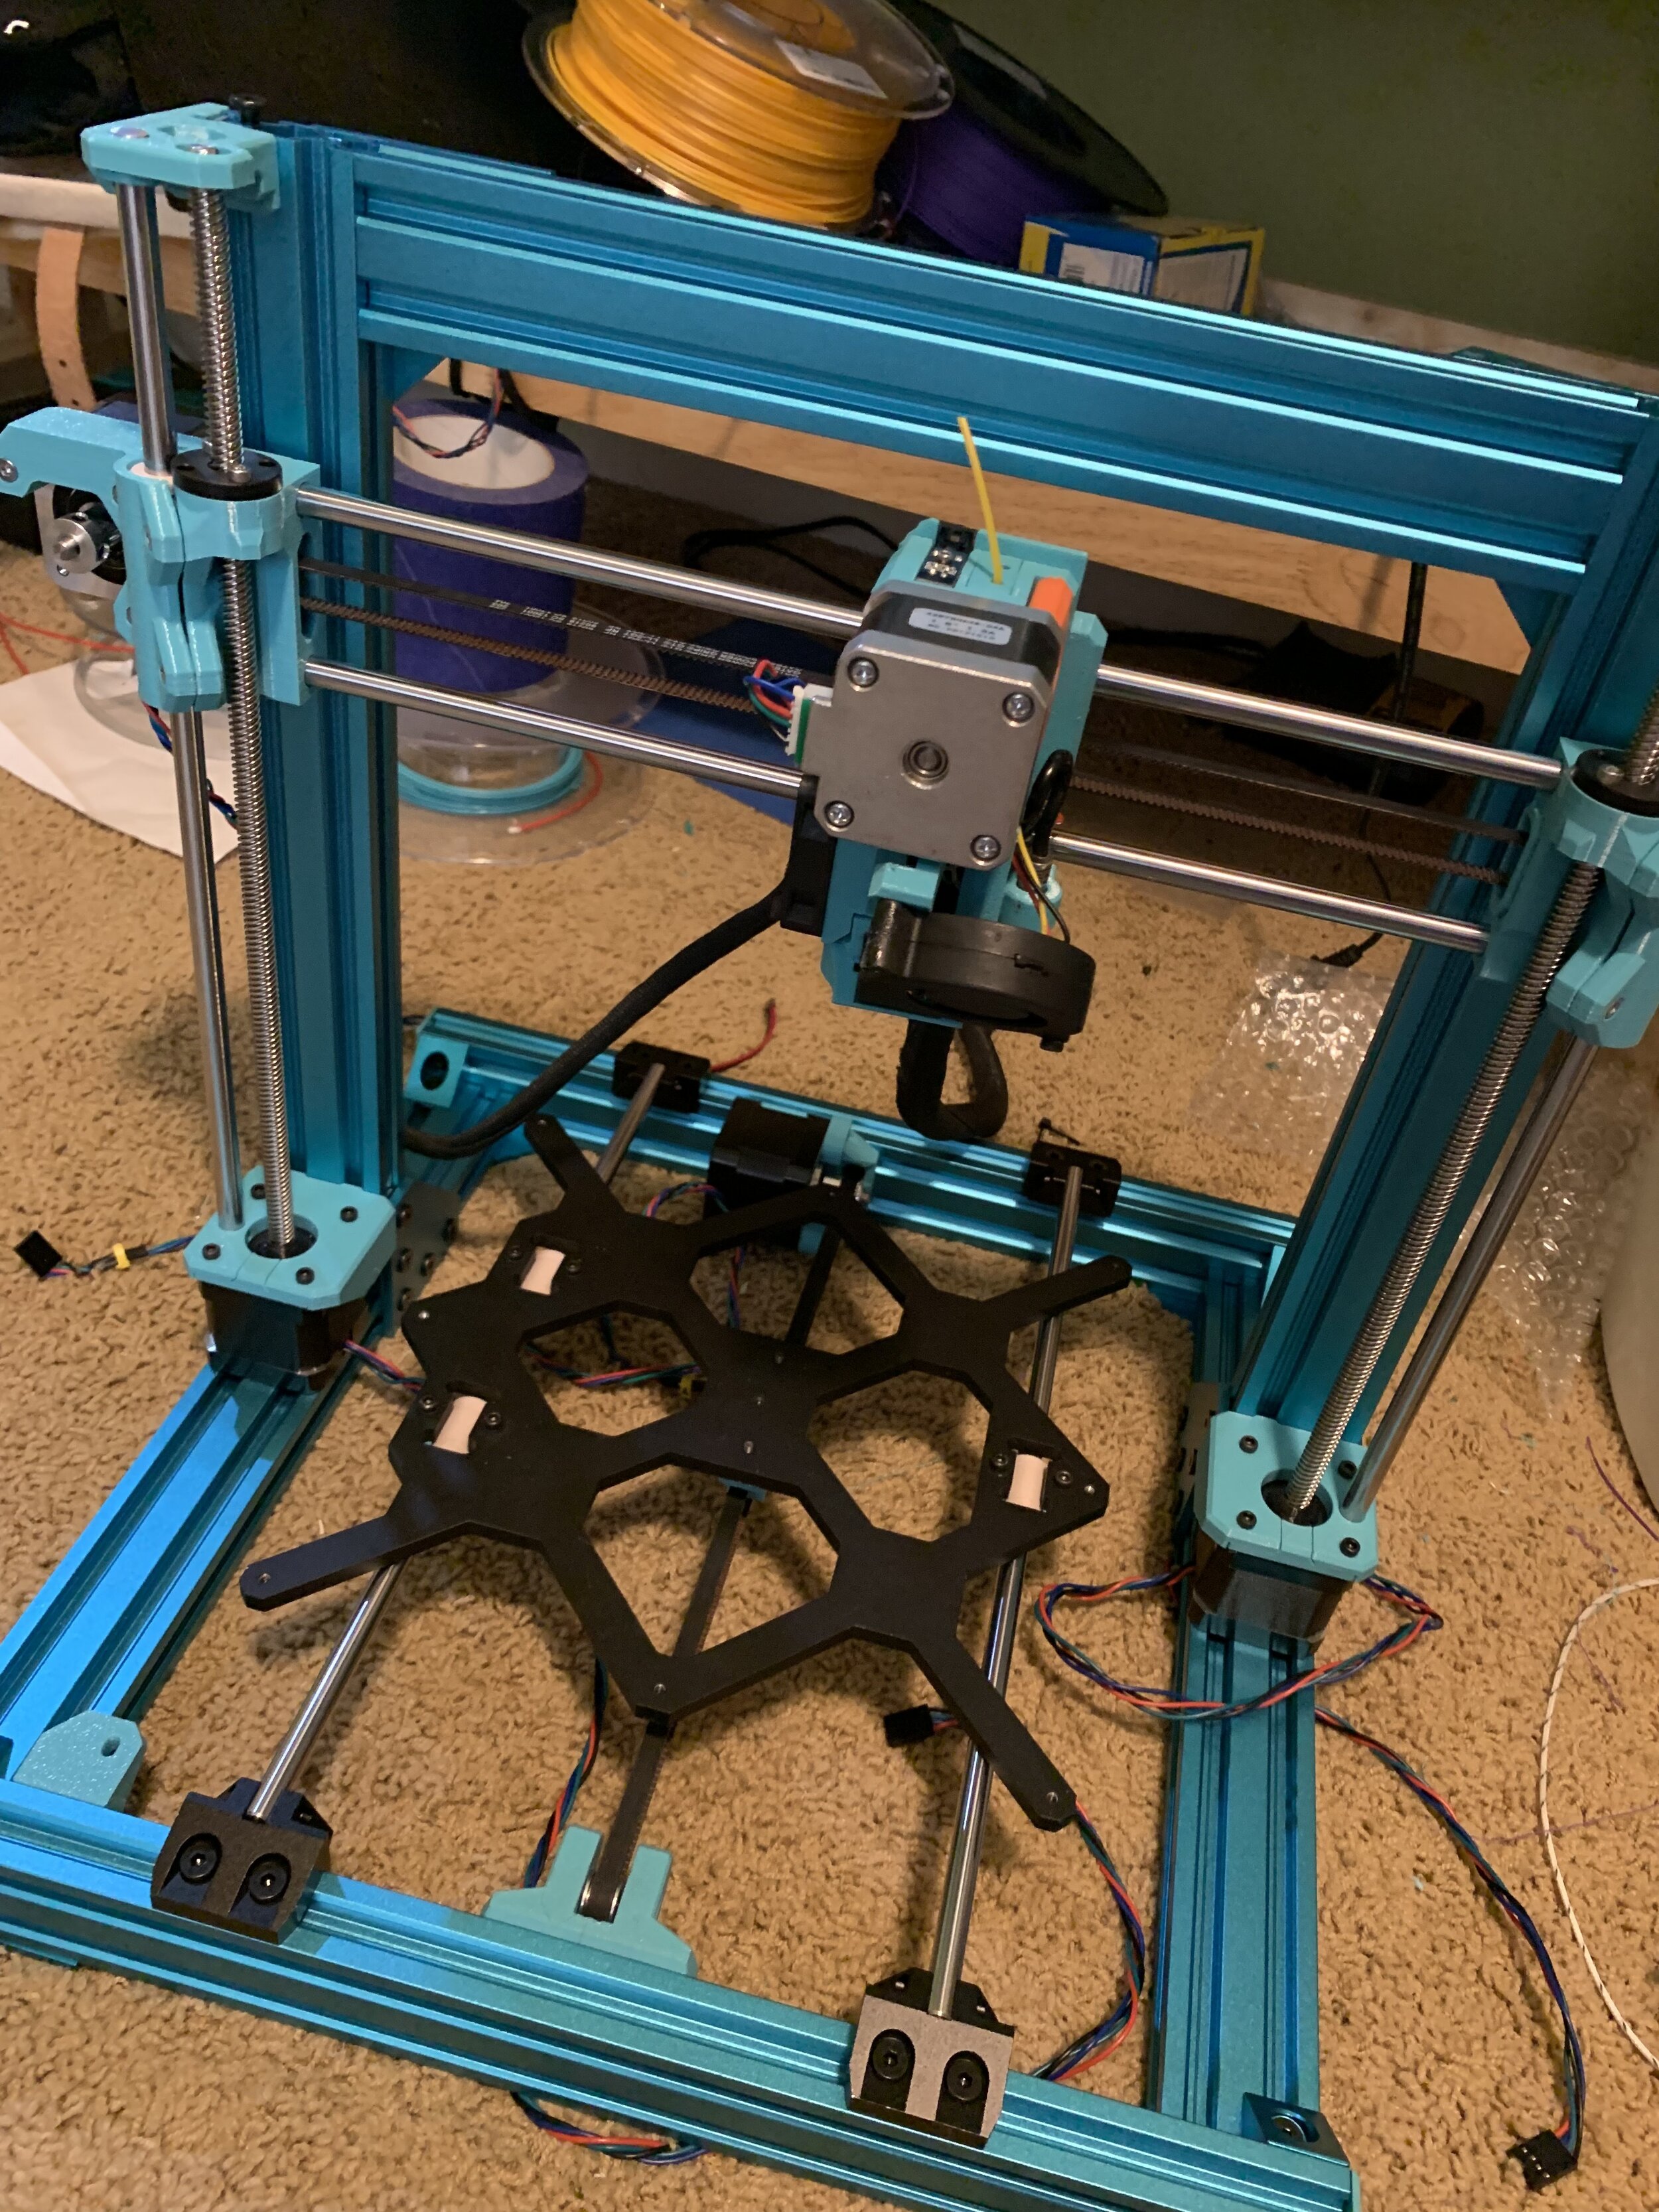
Although it’s not completely necessary, I honestly think that having a machinist square was really helpful in making sure all the angles were 90 degrees. Here’s an affiliate link to that: Kinex Machinist Square. After going over each angle multiple times, tightening and adjusting the extrusions I was finally happy with the frame. I started adjusting and the smooth rods, carriage, and stepper motors to the frame, it was finally coming together and actually looking like a 3D printer. After attaching the power supply I realized that the cables going to the motherboard were way too short so I replaced them with longer silicone ones which in my opinion are way better and easier to work with than the ones that originally came with it. I went with a brand that I was familiar with called BNTECHGO which is great. Here’s the link to that: BNTECHGO 14 Gauge Silicone Wire Spool
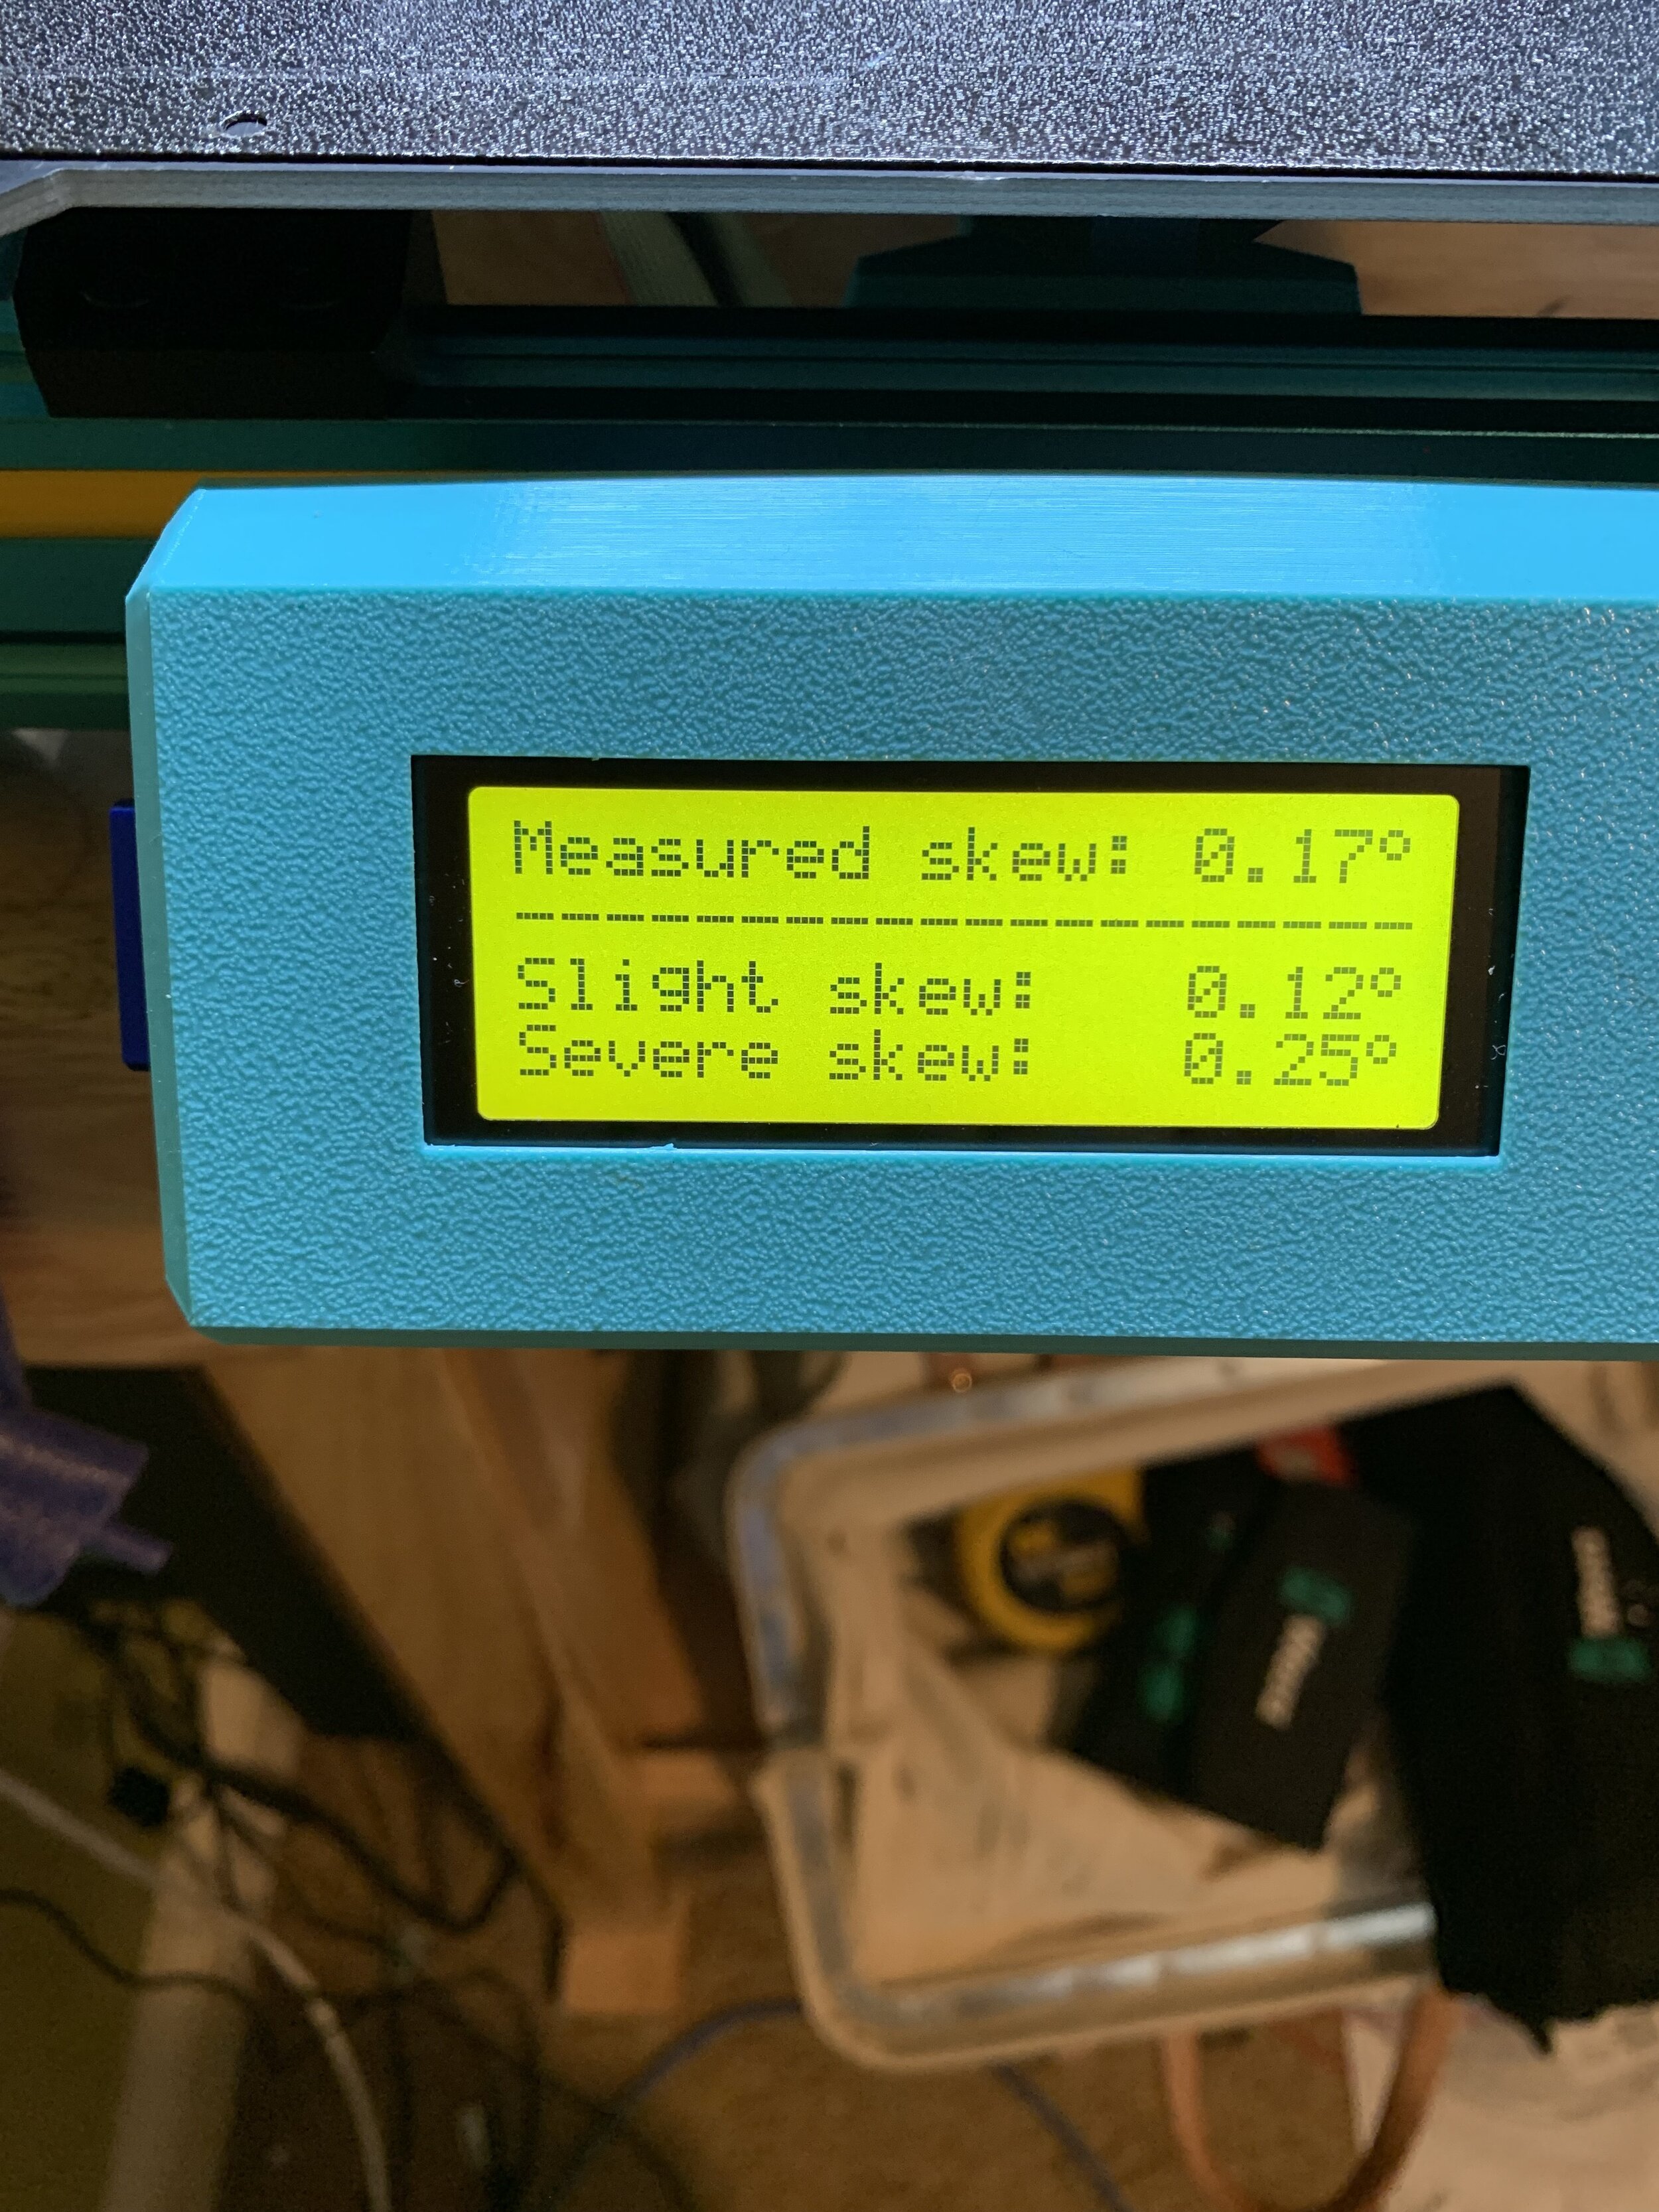
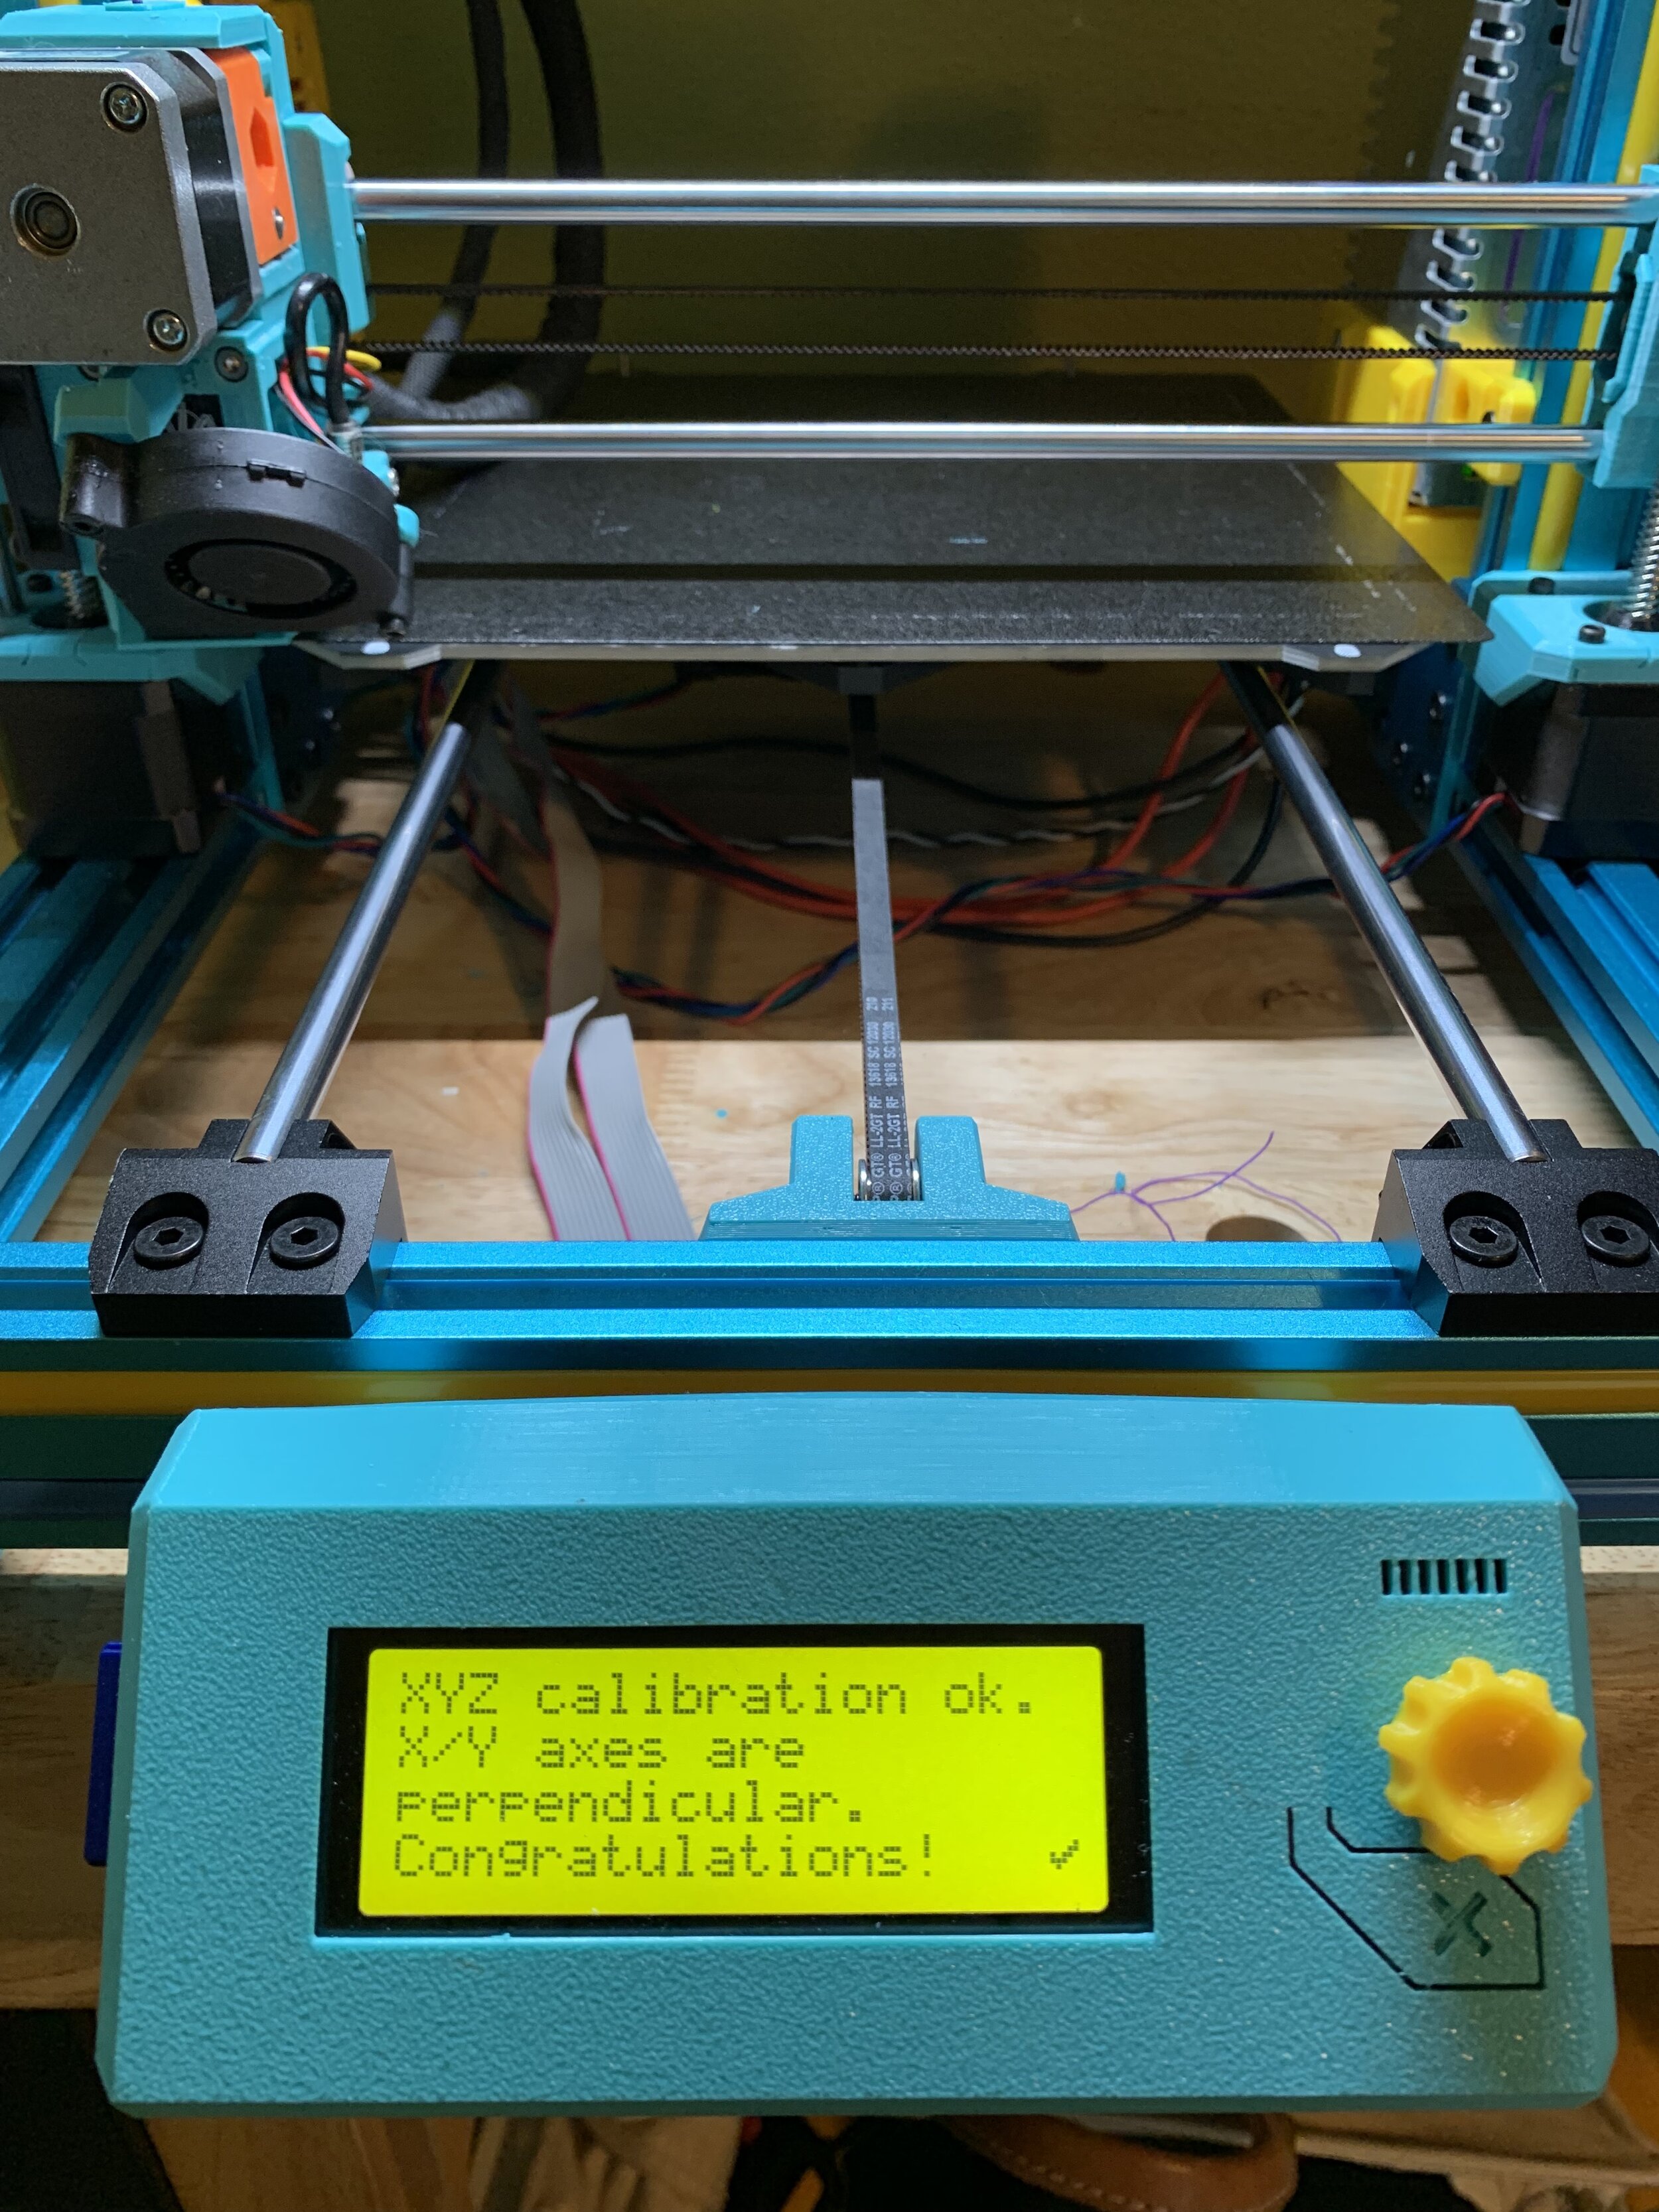
The entire printer came together well, checked all the wires, did some cable management and power it up. Ran through the wizard and calibration to verify everything was perpendicular. The first time it ran the calibration it showed that the printer was a bit skewed but after making a few adjustments I was able to get it to be perpendicular. I did notice that the printer felt quieter, I can’t quantify it scientifically but there seemed to be less vibration when the Z axis moved up and down at a fast rate. I also ended up ordering an anti-vibration pad after reading somewhere that it helps keep things even more quiet: 24"x24" Anti-vibration pad. This really did help reduce vibration and noise because my printer sits upstairs in my office and usually when a print is running I can hear the motors from downstairs, the mat completely eliminated that.
Additional Upgrades
Another thing that I upgraded while doing my research on the Bear kit was the case that held the Einsy Rambo, the original that came with the MK3S was a joke, it was so tiny and I was not able to do any cable management, so I just had a nest of cables hanging everywhere. Trying to close the case was even more of a task, I ended up just not closing the case at all. So I searched around and found the Universal Zaribo Einsy box, which had a Bear variation of the case: Einsy Box Thingiverse. I printed that and still use it today. It has enough room for cable management, and allows me to easily unplug cables and work inside the case if I needed to. It has enough room for the case to be properly guided to where they need to go and just looks great overall.
After putting the entire printer together I felt like I wanted to make it even more customized and ordered some extrusion inserts from AliExpress: 6mm slot cover. The printer is solid, I’ve moved it around multiple times, and have not had any issues with it at all become wobbly or crooked. Recently I moved away from using the printed BMG extruder to the BnBsX which stands for Bunny And Bear Science Short Ears Extruder, her’es the Thingiverse link: BNBSX Short Ears MK3S. I love it, it looks really awesome, very easy to maintain, very modular, and not too difficult to put together. I’ve also upgraded to the Mosquito Hotend which is quite nice and allows for super easy nozzle changes. I’d say it’s worth upgrading if you’re going through nozzles really fast or if you like changing up your nozzles often. Here’s the link to that: Slice Engineering Mosquito Hotend. It is a bit expensive, but totally worth it in my opinion. I’ve never been a fan of how the E3D hotends worked. Now with how amazing prints are and the build volume as big as it is, I solely use my MK3S for 3D printing now.
Conclusion and Last Thoughts
Anyway, getting back on topic. The Bear kit looks great and I’ve considered upgrading the Z axis but haven’t had time to do so. If you’re interested in picking up a Full Bear kit and don’t mind the wait, Sealand is a responsive seller with accurately cut extrusions and a well packaged product. I’m not disappointed in the purchase, but I would probably buy from an original reseller if I was going to pick up another MK3S and wanted to do a colored full Bear kit. The price point is great for the kit from AliExpress, but supporting the creators of the original is also important, they’re the reason why this kit existed in the first place. I bought my kit during a time when there weren’t many options out there and quantity was super limited. I’m not sure on what the stock looks like now but I have included a link to official resellers: Official resellers for Bear Kits. If you are looking for more information join the Bear i3 Facebook group, and join their Discord, it is filled with helpful folks who are friendly and will point you in the right direction.

