DIY DeWalt Miter Saw LED
Introduction:
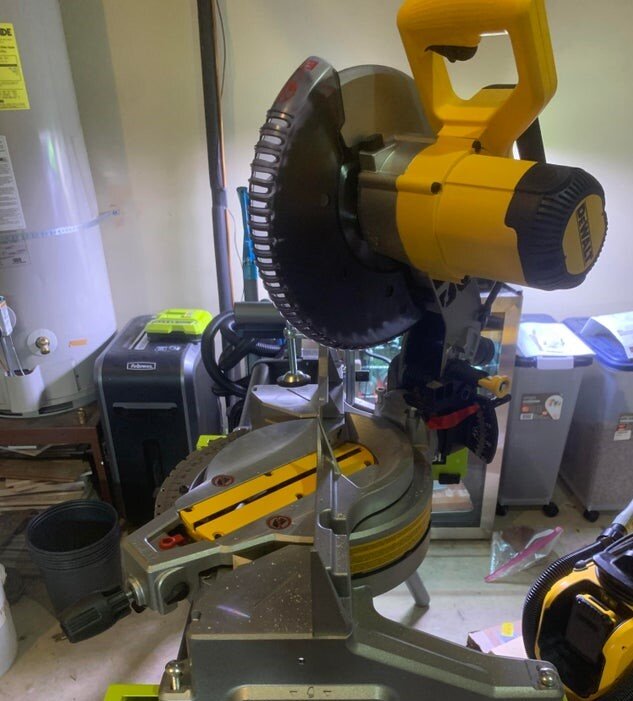
I recently bought a DeWalt DWS713 Miter Saw and it did not come with the XPS Cutline LED module. I didn’t want to spend the extra money for a ton of features that I didn’t need and with this new model there wasn't any way to upgrade the miter saw to have an LED light so I created and printed my own. It’s not the most sophisticated system but it works, I’m not great at designing so if anyone wants to modify and improve on my design please do so. Please note that as always, I’m not responsible if you blow anything up, damage your tools or hurt yourself.
Supplies (links are affiliated):
Assembly:
The wiring is very basic, since we’re using a two pole On/Off switch, the black wire should be soldered to the minus on the LED strip, and the red wire should be soldered to the black wire on the 9V battery clip. The red wire on the battery clip should be soldered to the positive on the LED strip. Similar to my really bad wiring diagram below (Please note that the LED strip should be soldered after you place everything inside the 3D printed case and make sure you measure the correct length of wire):

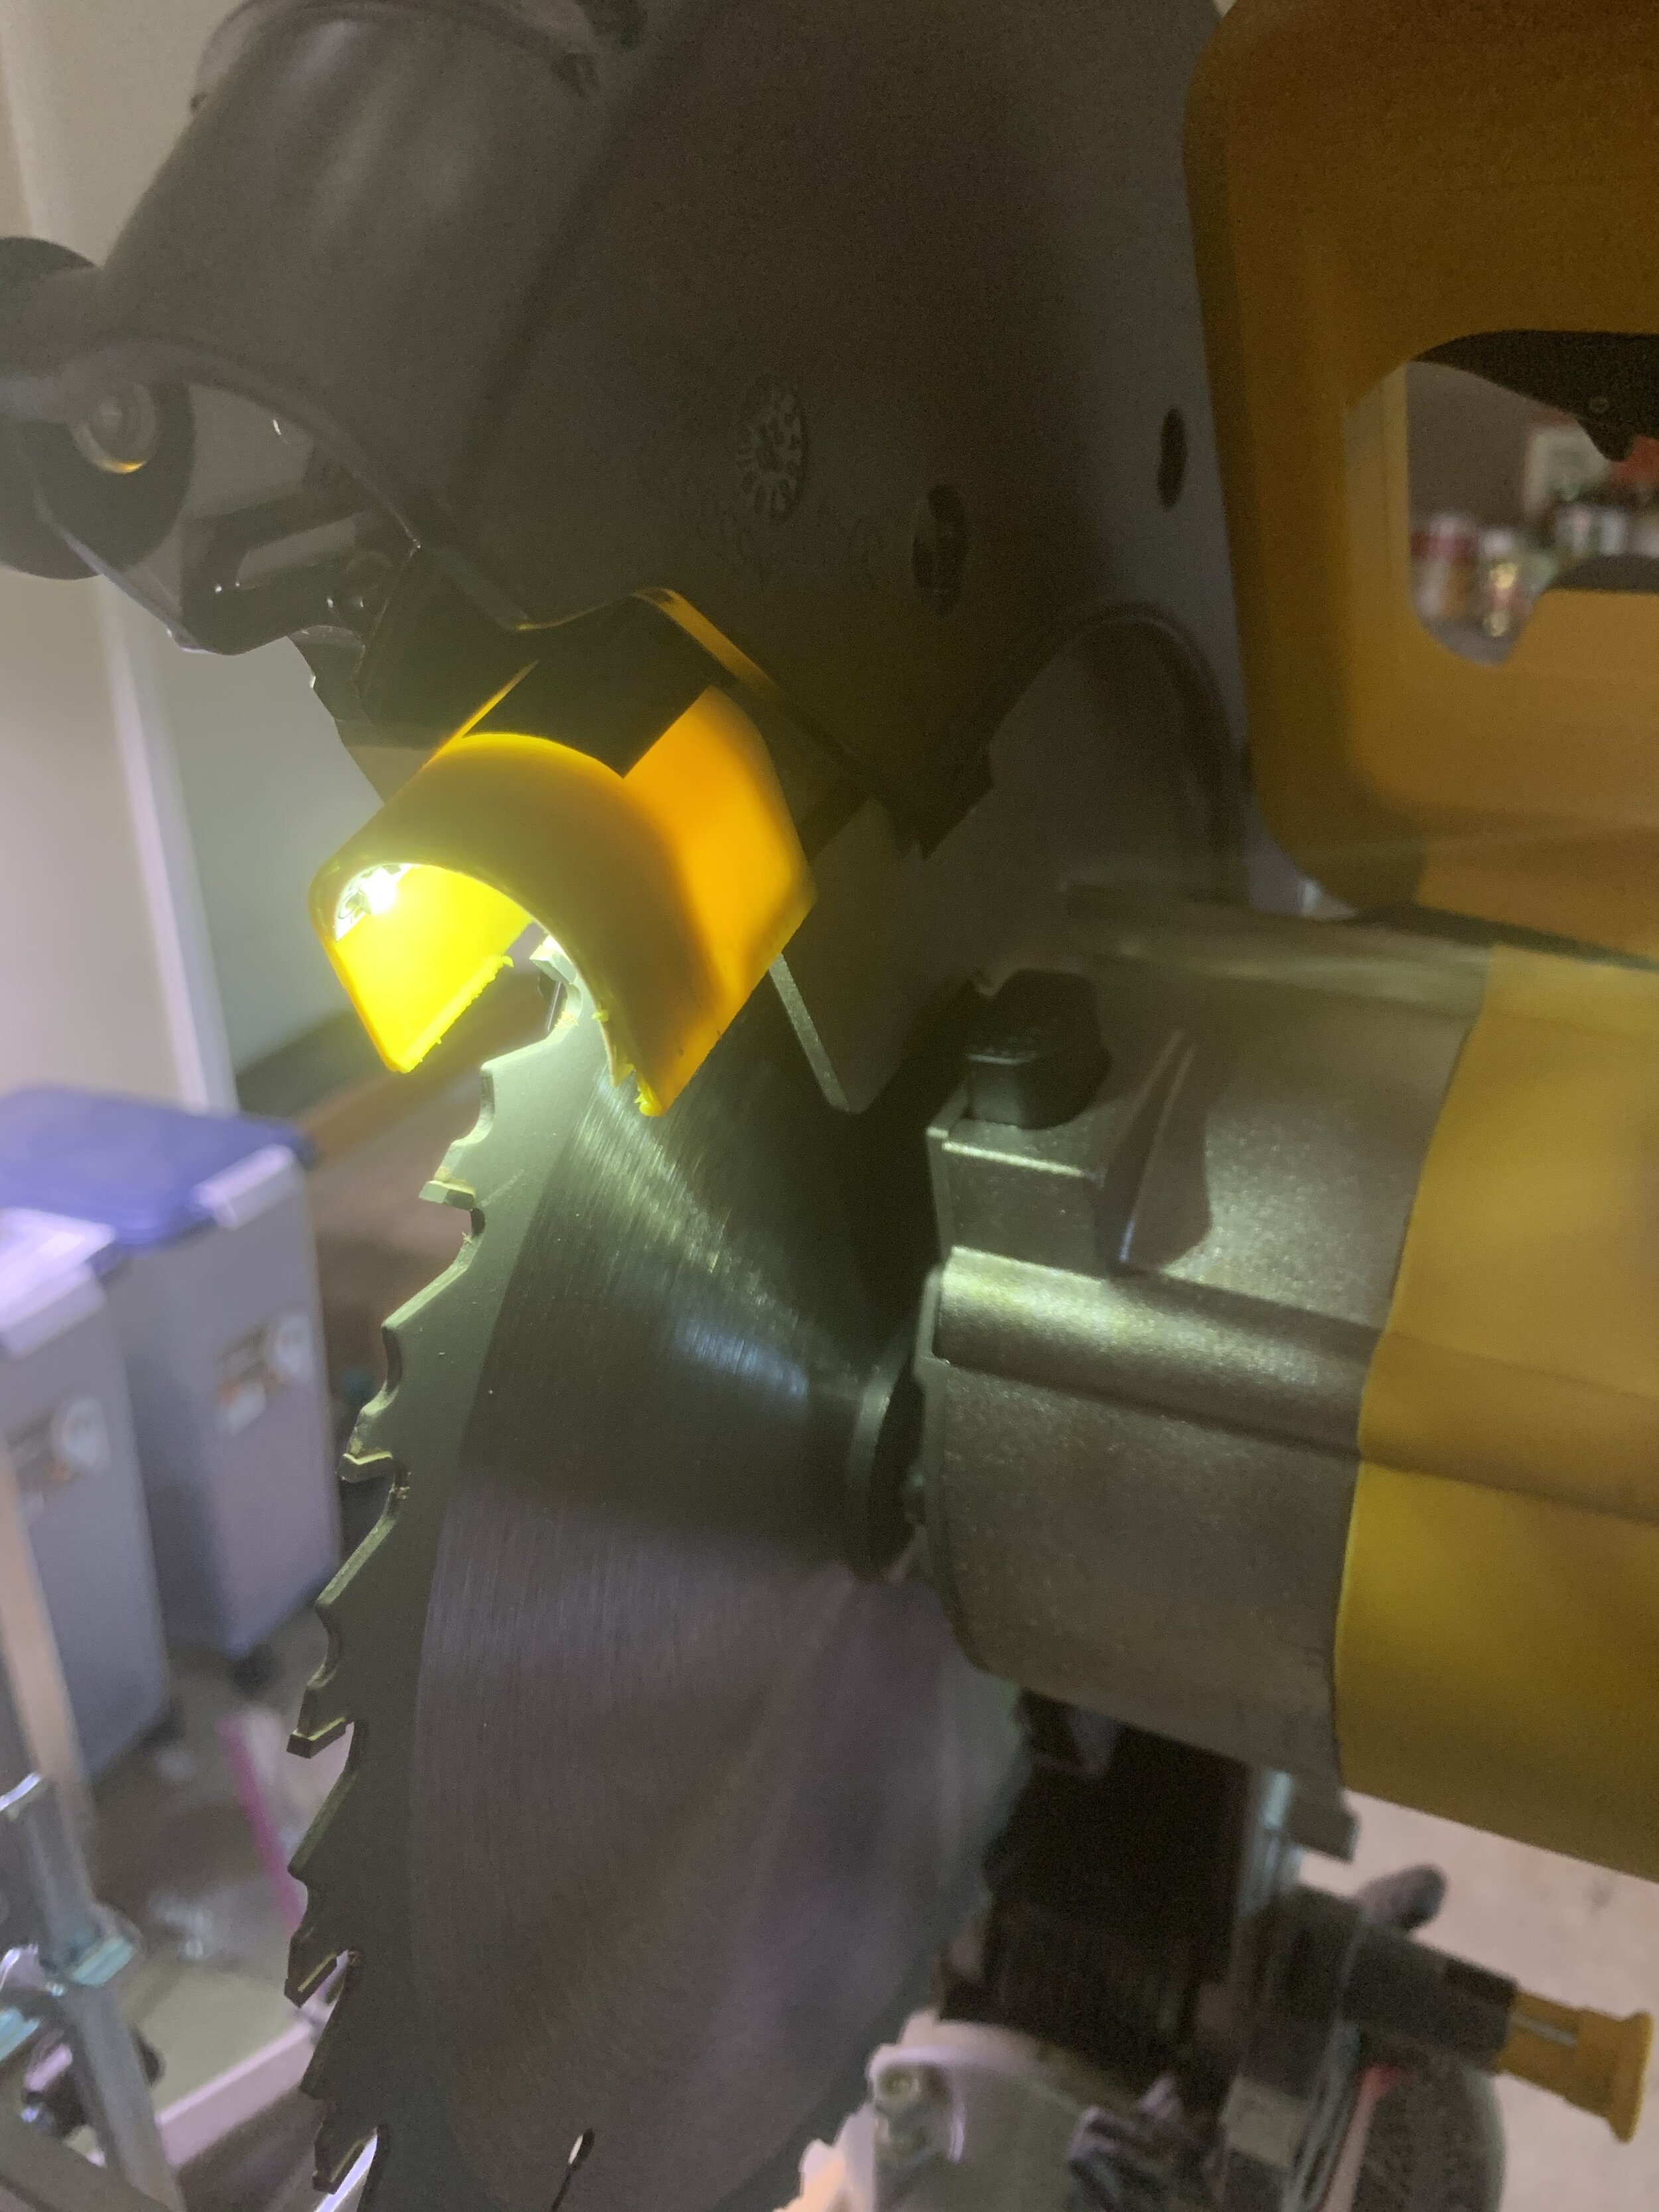
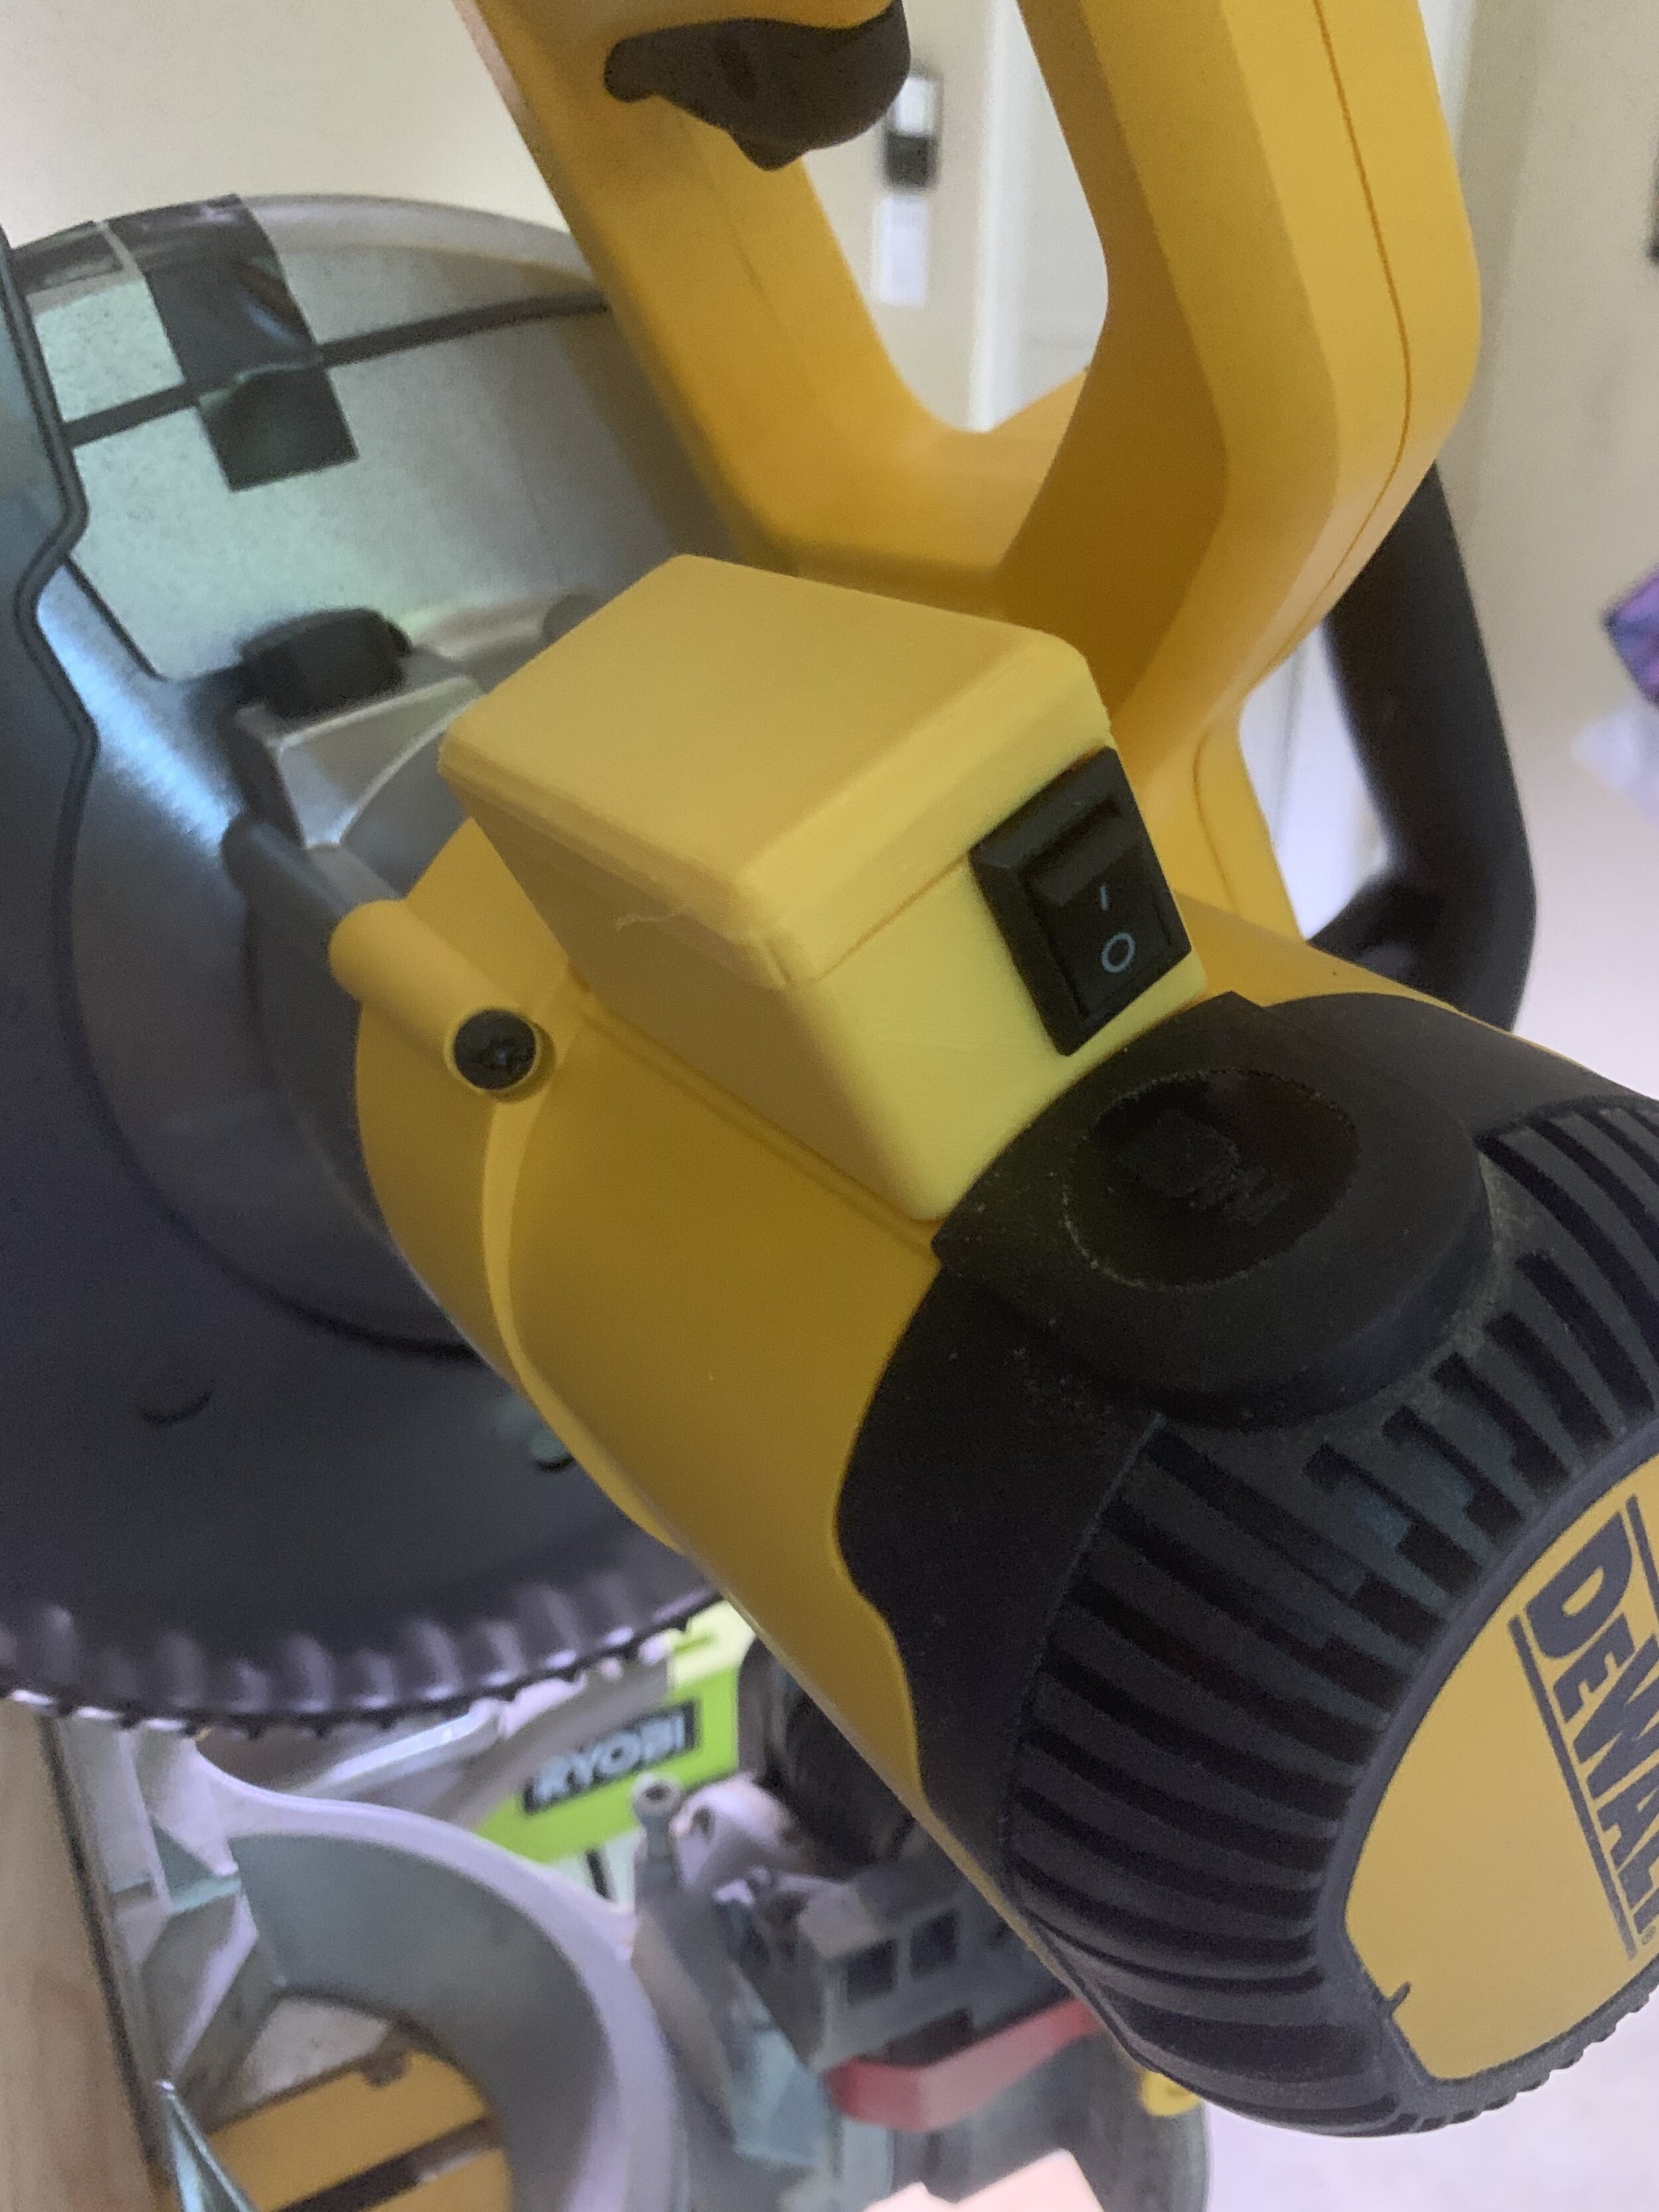
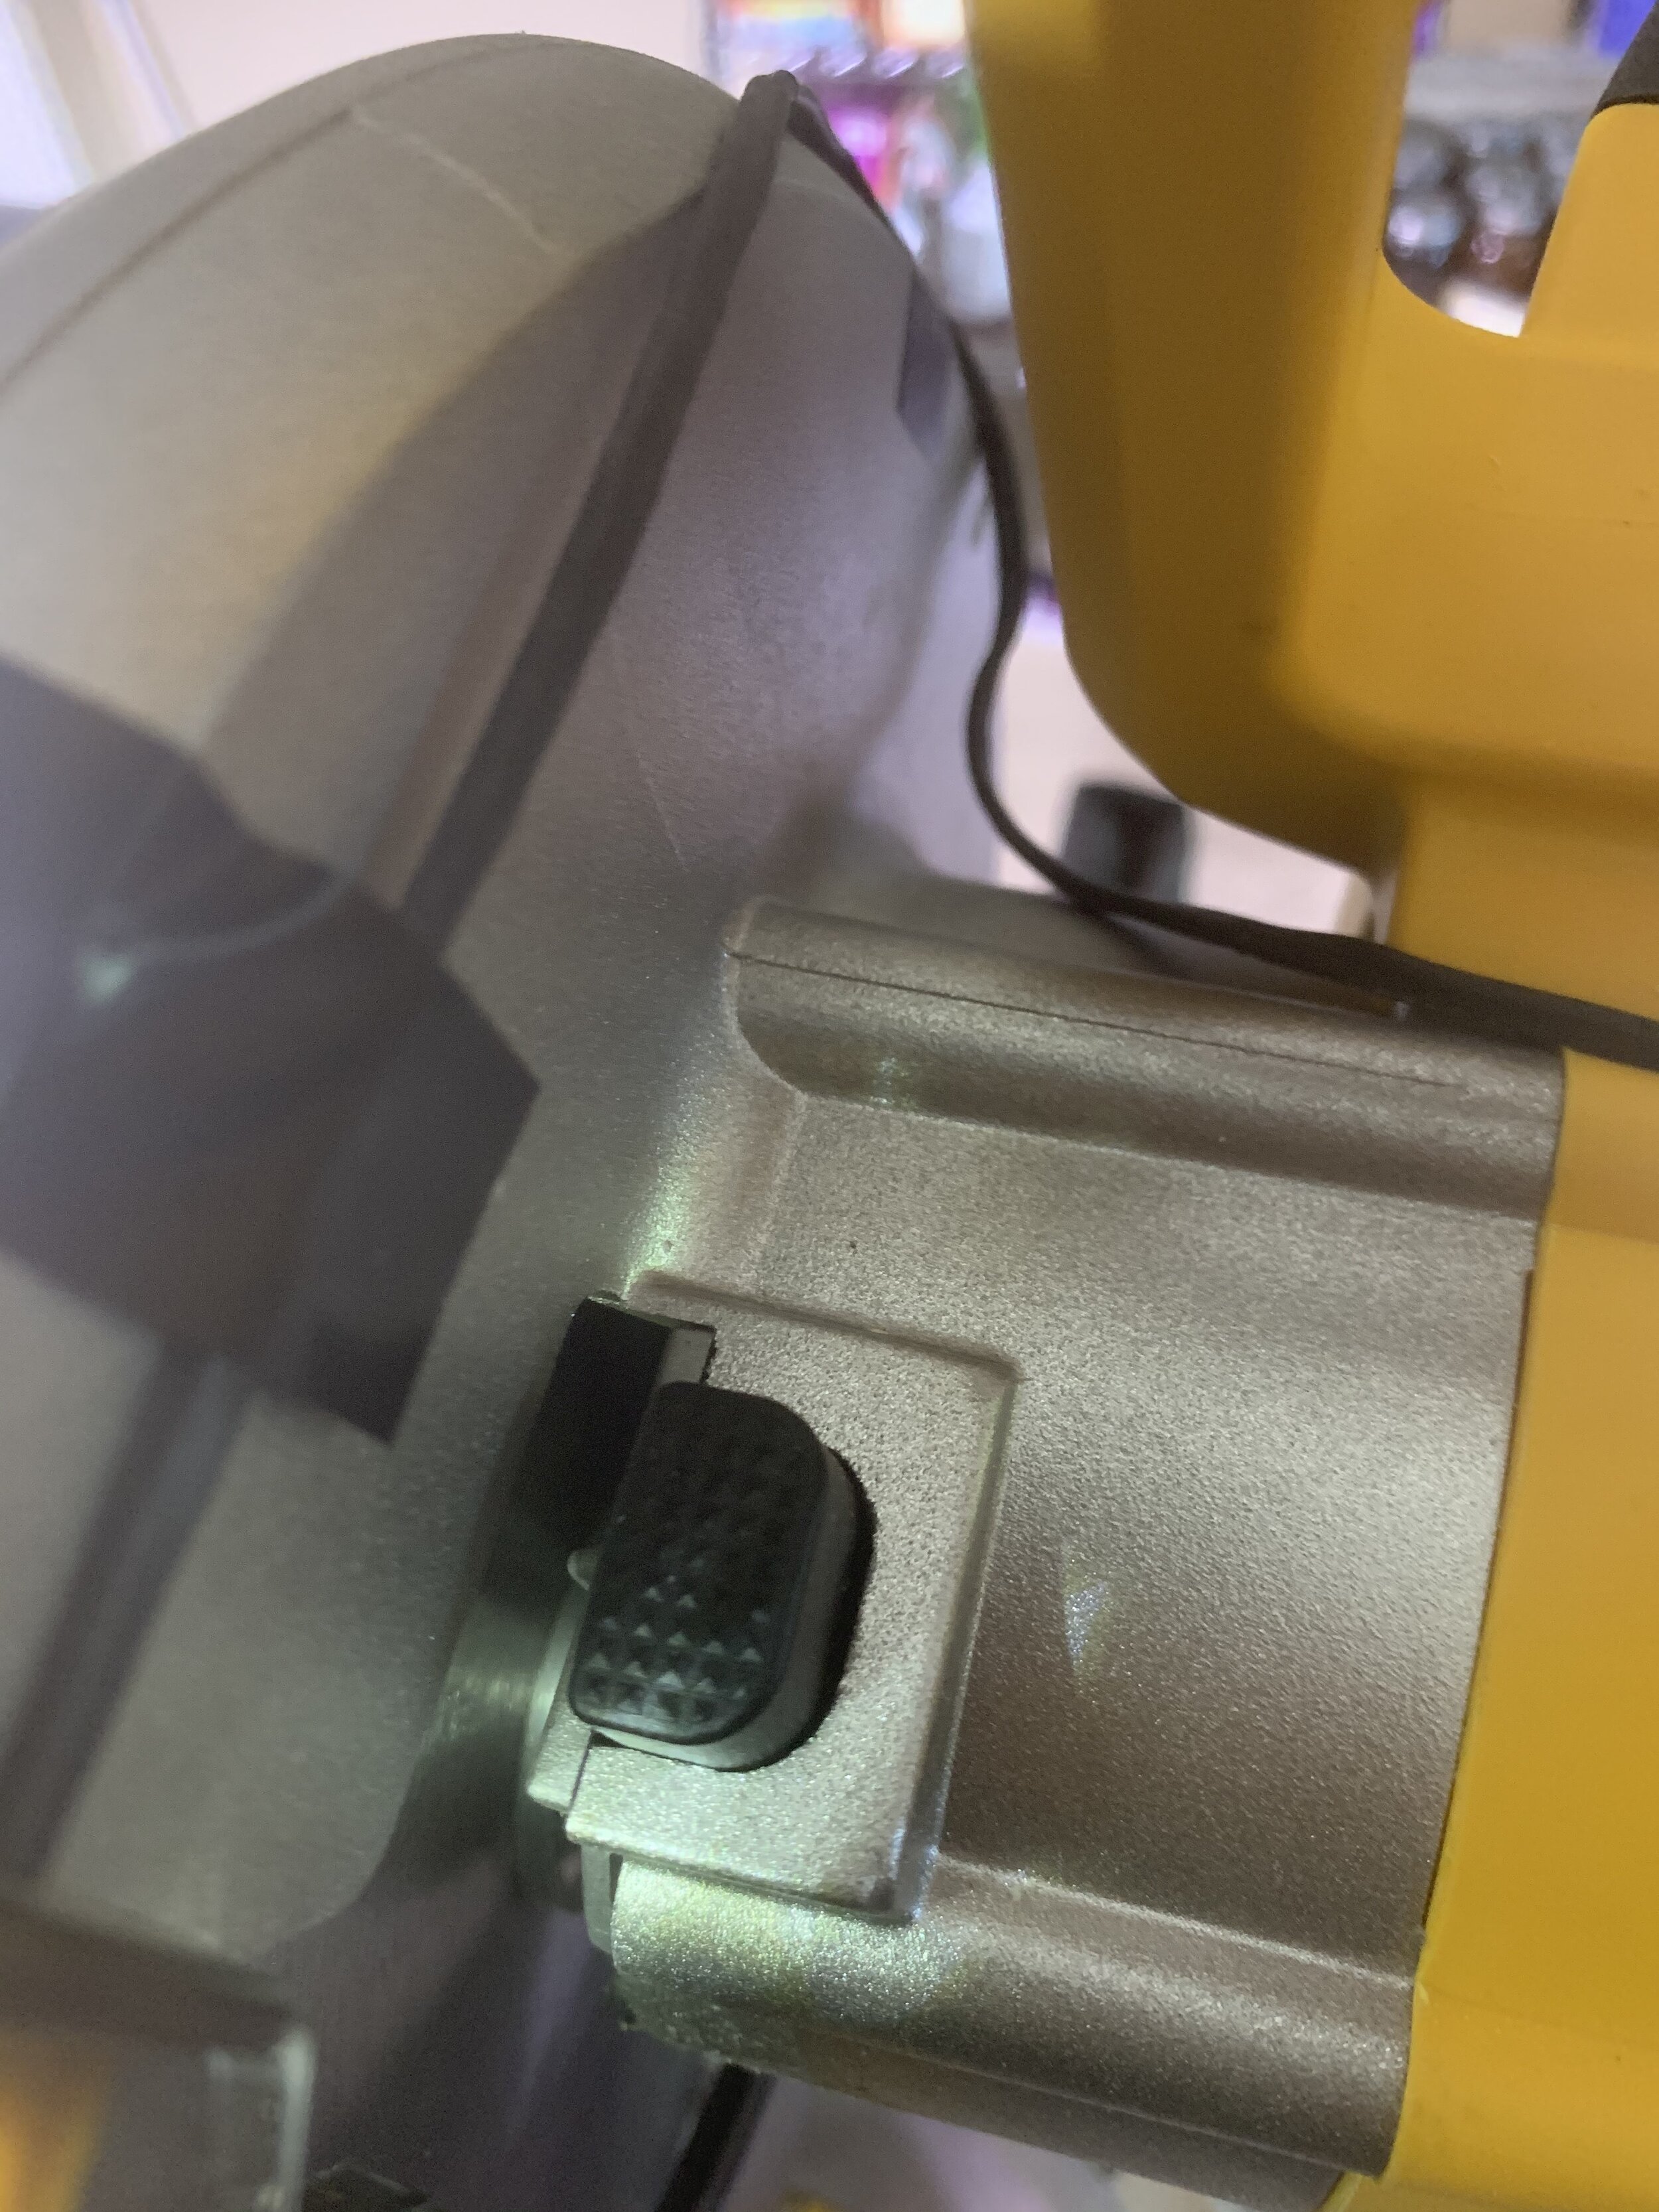
Once everything is fitted inside the case, run the two wires that should connect to the LED strip through the hole on the left on the case. Either wrap the two wires with electrical tape or use heat shrink tubing like I did. Once you solder the LED strip to the two wires you’ll want to use some double sided tape and stick the LED strip to the LED Hood piece because the tape on the back of the LED strip is weak and won’t stay. You might need to adjust the hood a bit and test to see if you get a proper shadow when you bring the saw down. You’ll want to place double sided tape on the end of the miter saw arm. Place some more double sided tape on back of the case and stick it on the front of the miter saw. Refer to my pictures below to see where everything should look. The case should be out of the way and not interfere with any functionality. I used tape to keep the wire in place but plan on using hot glue or something sturdier later on.
Conclusion:
This was a really easy project, it took a few days of prototyping to get the case just right but I’m happy with the results and it works like a charm, I now have a cutline and it is great for quick cuts where I don’t want to measure. I hope this helps someone out and please donate or shop via my affiliate links as it helps me to keep this site up and produce new content.

Cutline shadow